This pandemic has gone on so long that things we touched up at the beginning have already worn out. One example is the caulk that we lined our bathtub and sink with back in spring 2020. It was moldy and separating from the wall and time for a refresh.


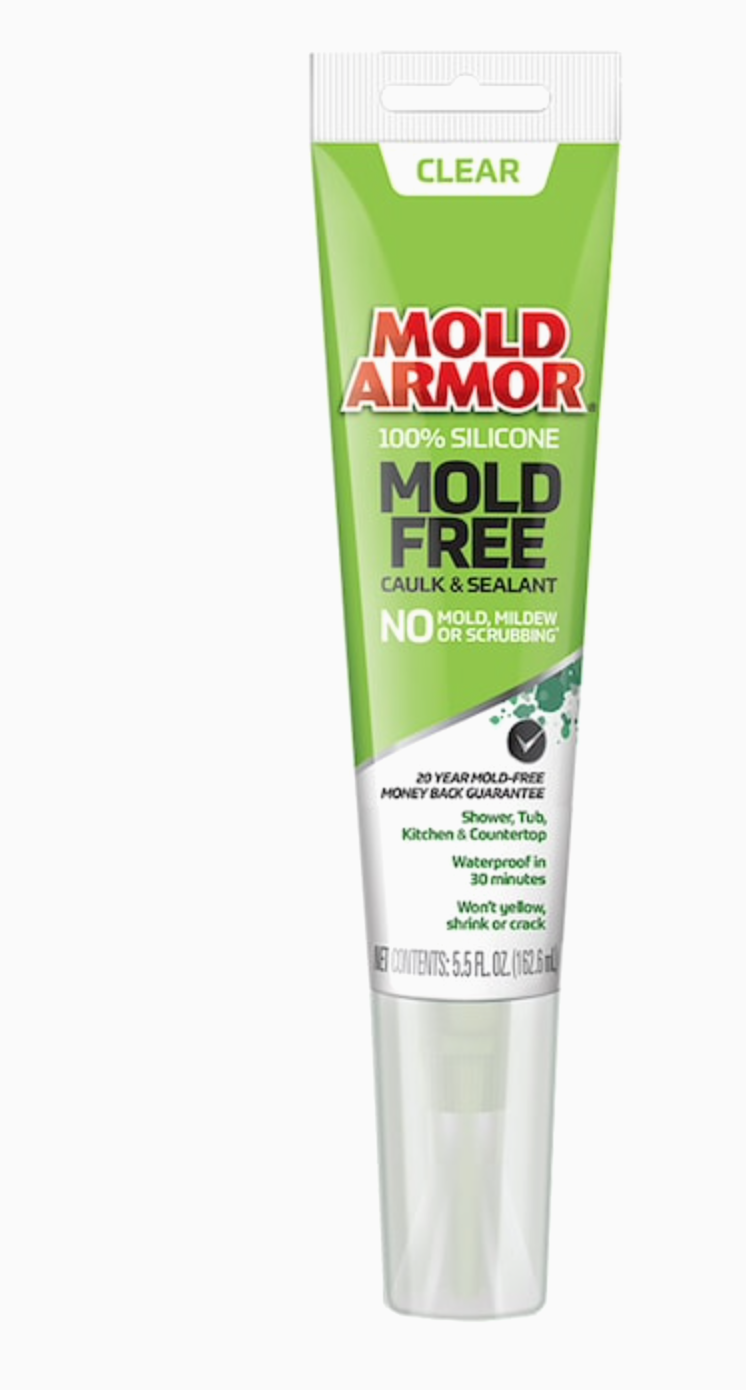
I also thought that being able to just squeeze it out instead of using a caulk gun would be useful, and the fact that it dried quickly would let us get back to using the tub--and especially the sink--quickly. These assumptions turned out to be wrong, as you'll see.
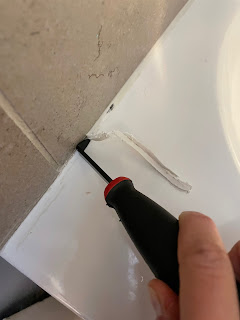
The one thing that did go right with this project was the caulk removing. It came out relatively easily with this $5 tool followed by a straight-edge to scrape off the rest.
 Once I removed all the caulk, I sprayed a strong cleaner in there and scrubbed it with a skinny brush, then wiped it dry/clean with a Clorox wipe, a trick I saw on one of the MANY YouTube videos I watched to prepare myself for this project. That was a good way to clean it off without having to use water. Then I waited a while to let all that dry.
 The videos also suggested that I tape the line in order to get a good edge. I did this diligently. It seemed like a good idea. The other suggestion I followed was to fill the tub to get a caulk line that would cover the gap even with that added distance between the wall and the tub caused by the weight of a person (or, in this case, a full tub).
 And... go! Except - well, where to start. First, the tape did not actually stick very well. So as I was dragging the bead edge tool along, the tape started to crumple and move with me, which honestly had the exact opposite effect that it was supposed to, as it fell into the caulk.
 Second, suddenly this "quick drying" caulk did not seem like such a good idea. It started hardening while I was still trying to smooth out the line, making it decidedly worse the more I messed with it. I tried to use acetone to clean up the line as quickly as I could. But at some point at around minute 20 or so, it started to cure enough that any time I touched it, it just got sloppier and sloppier. Oh well, too late now. The only way to fix this is to rip it out and start over....sight. The other problem was that pushing the caulk tube along without the caulk gun (which recall, I thought was a great idea), meant that I was working essentially with a tube of toothpaste. As the tube got emptier, it got much harder to push it out. Add that to the need to work fast and, well, less than ideal conditions.


It is far from perfect, but at least it is mildew and mold free.
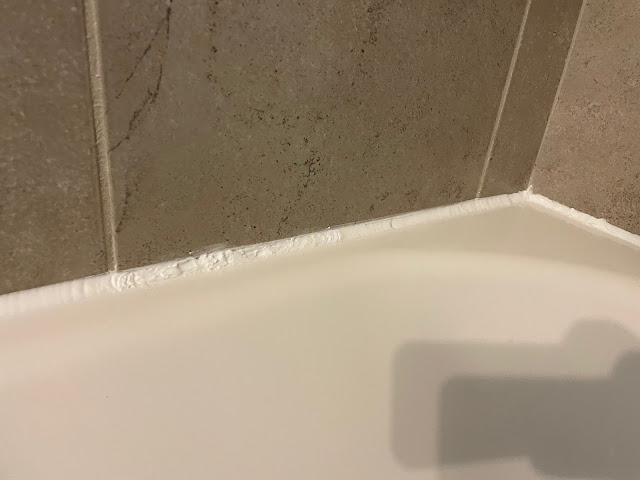 From a distance, it's not so bad...right?

 Removal took a little longer and was definitely moldier than the shower:


And then, it was time for the kitchen sink. This one really needed to quick dry, since we use the kitchen constantly. Same steps as before, except no taping. Even if it had worked great on the tub, this was an undermount and would not have been possible to easily tape up that way.


This time, I tried to do the bead with a gloved hand rather than that little tool. It was, essentially, all the same problems as the tub. I keep hoping that the more I look at it, the more used to it I get. I wonder if it's worth trying again or if I'd end up with exactly the same result. Probably the latter. At least it's not moldy and gross anymore, just goopy looking:

And that was how I spent quite a few hours just before Thanksgiving week. I will admit begrudgingly here that when we re-caulked in spring 2020, D managed the process and I thought he did a crummy job. So this time I was determined to show him how much better I could do it. I didn't. Oh well, lesson learned. It might be worth finding a professional handyman next time, when it inevitably needs a redo in a few years.