Please share your opinions and expertise since we need all the help we can get!

Saturday, June 12, 2021

Gazebo Glory

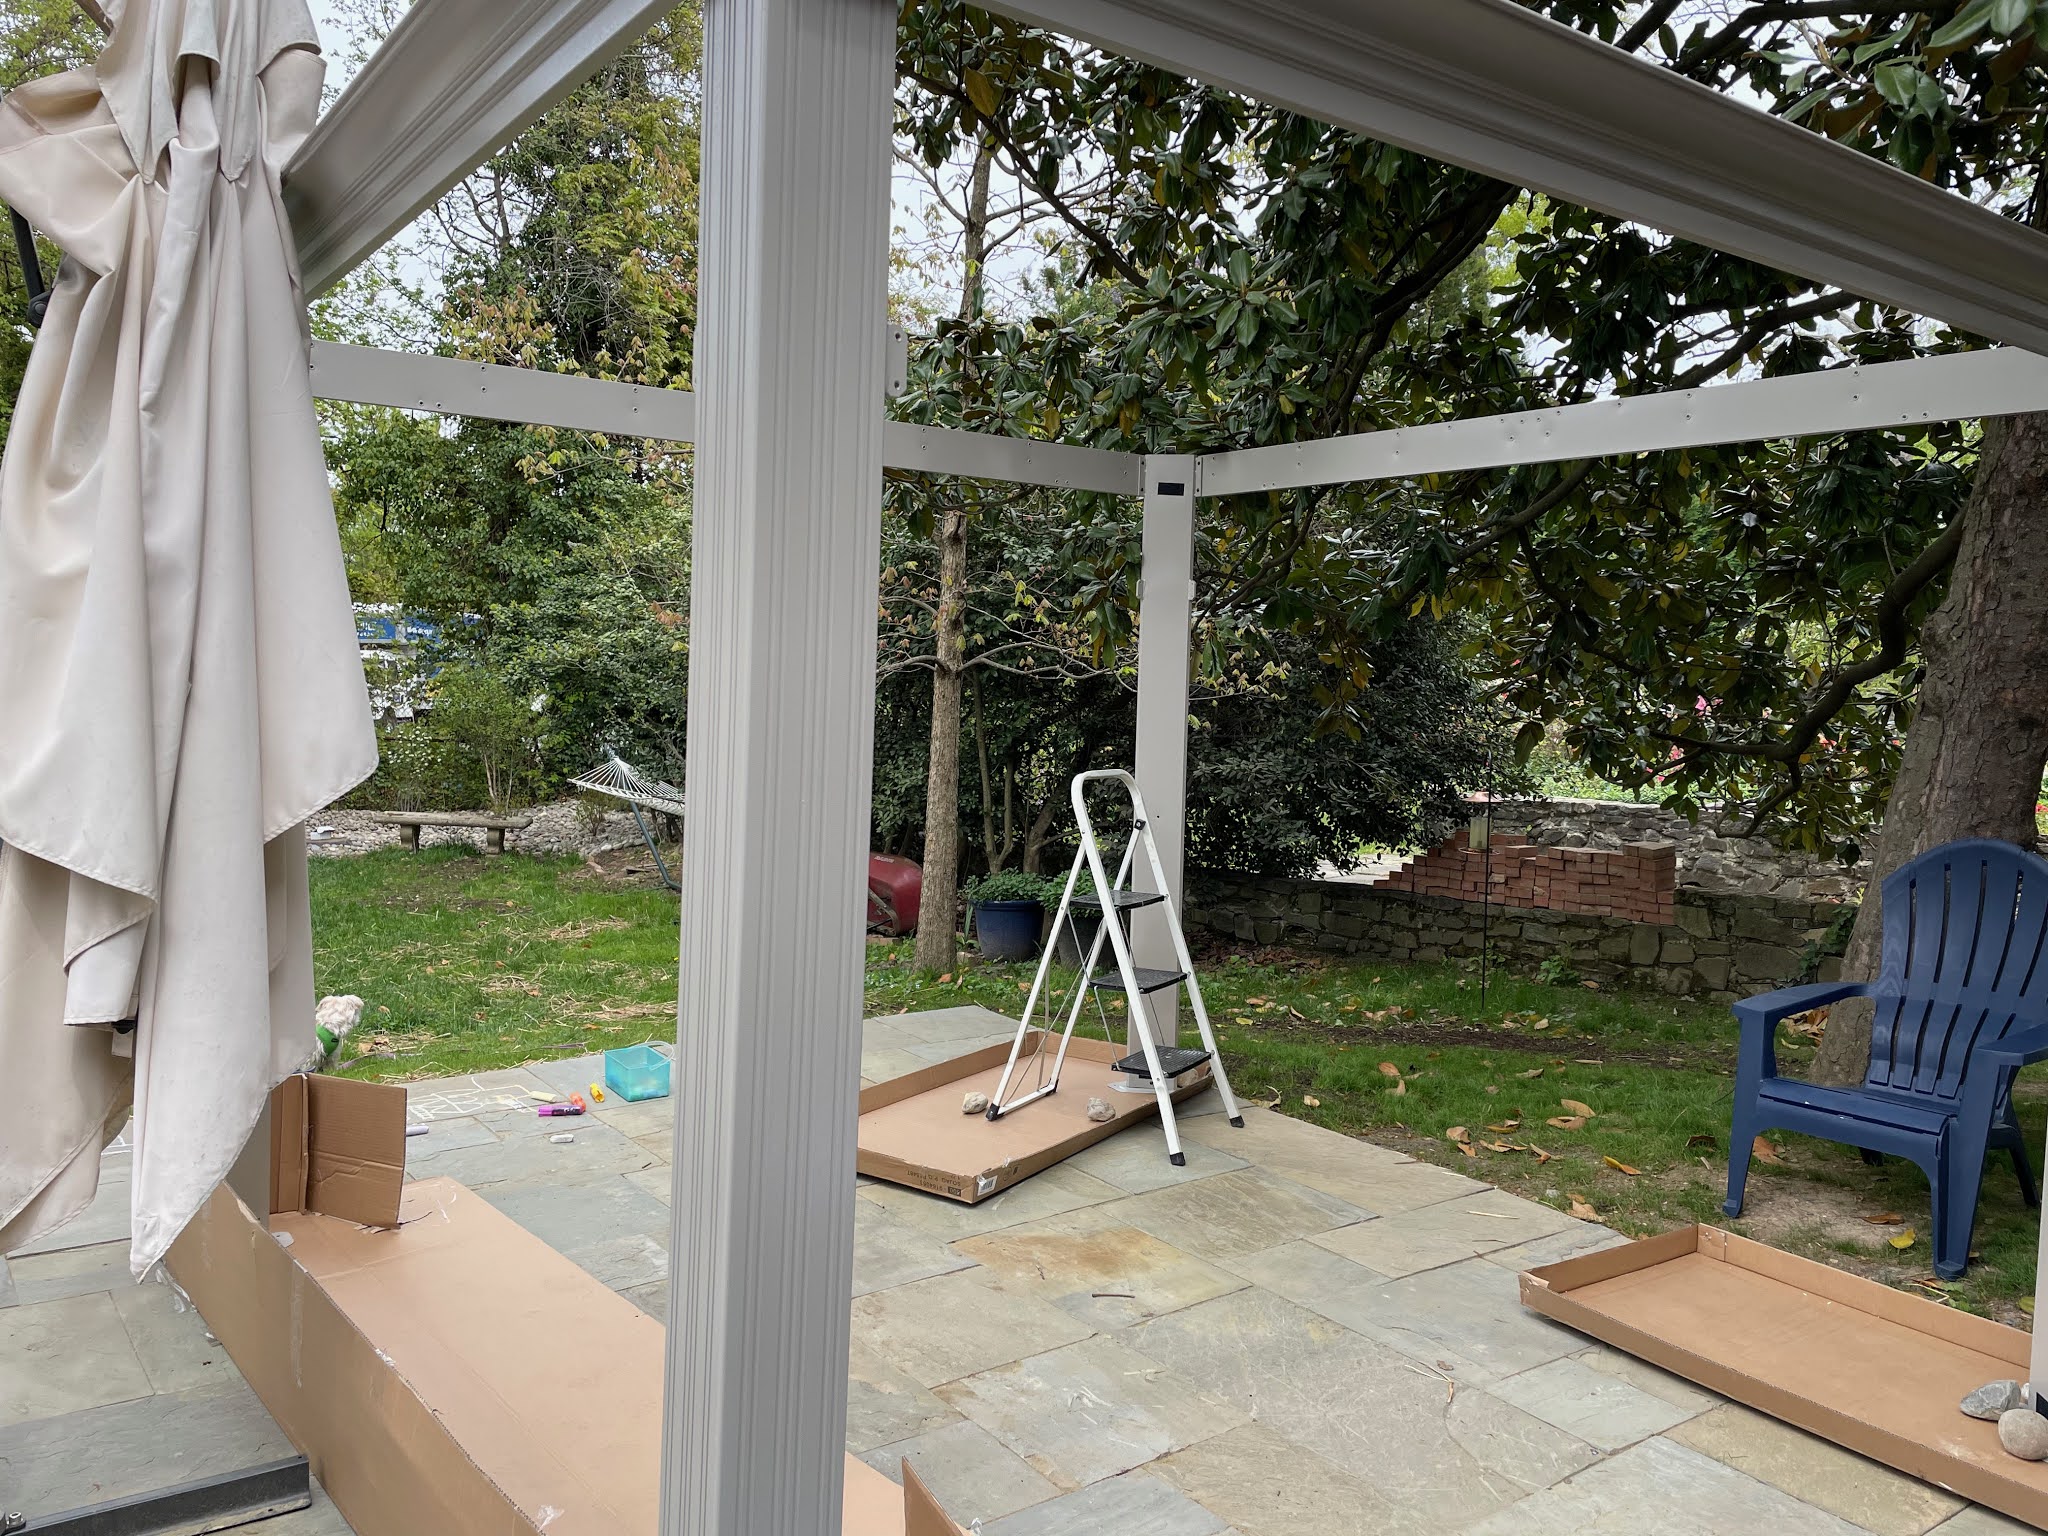
To continue from last week's post about our gazebo, I thought I'd go past the rest of the building part, which meant fitting the dozens of panels into the roof frame and cupola frame and bolting them in--because really what else is there to say about that--and talk about how we anchored and decorated it.

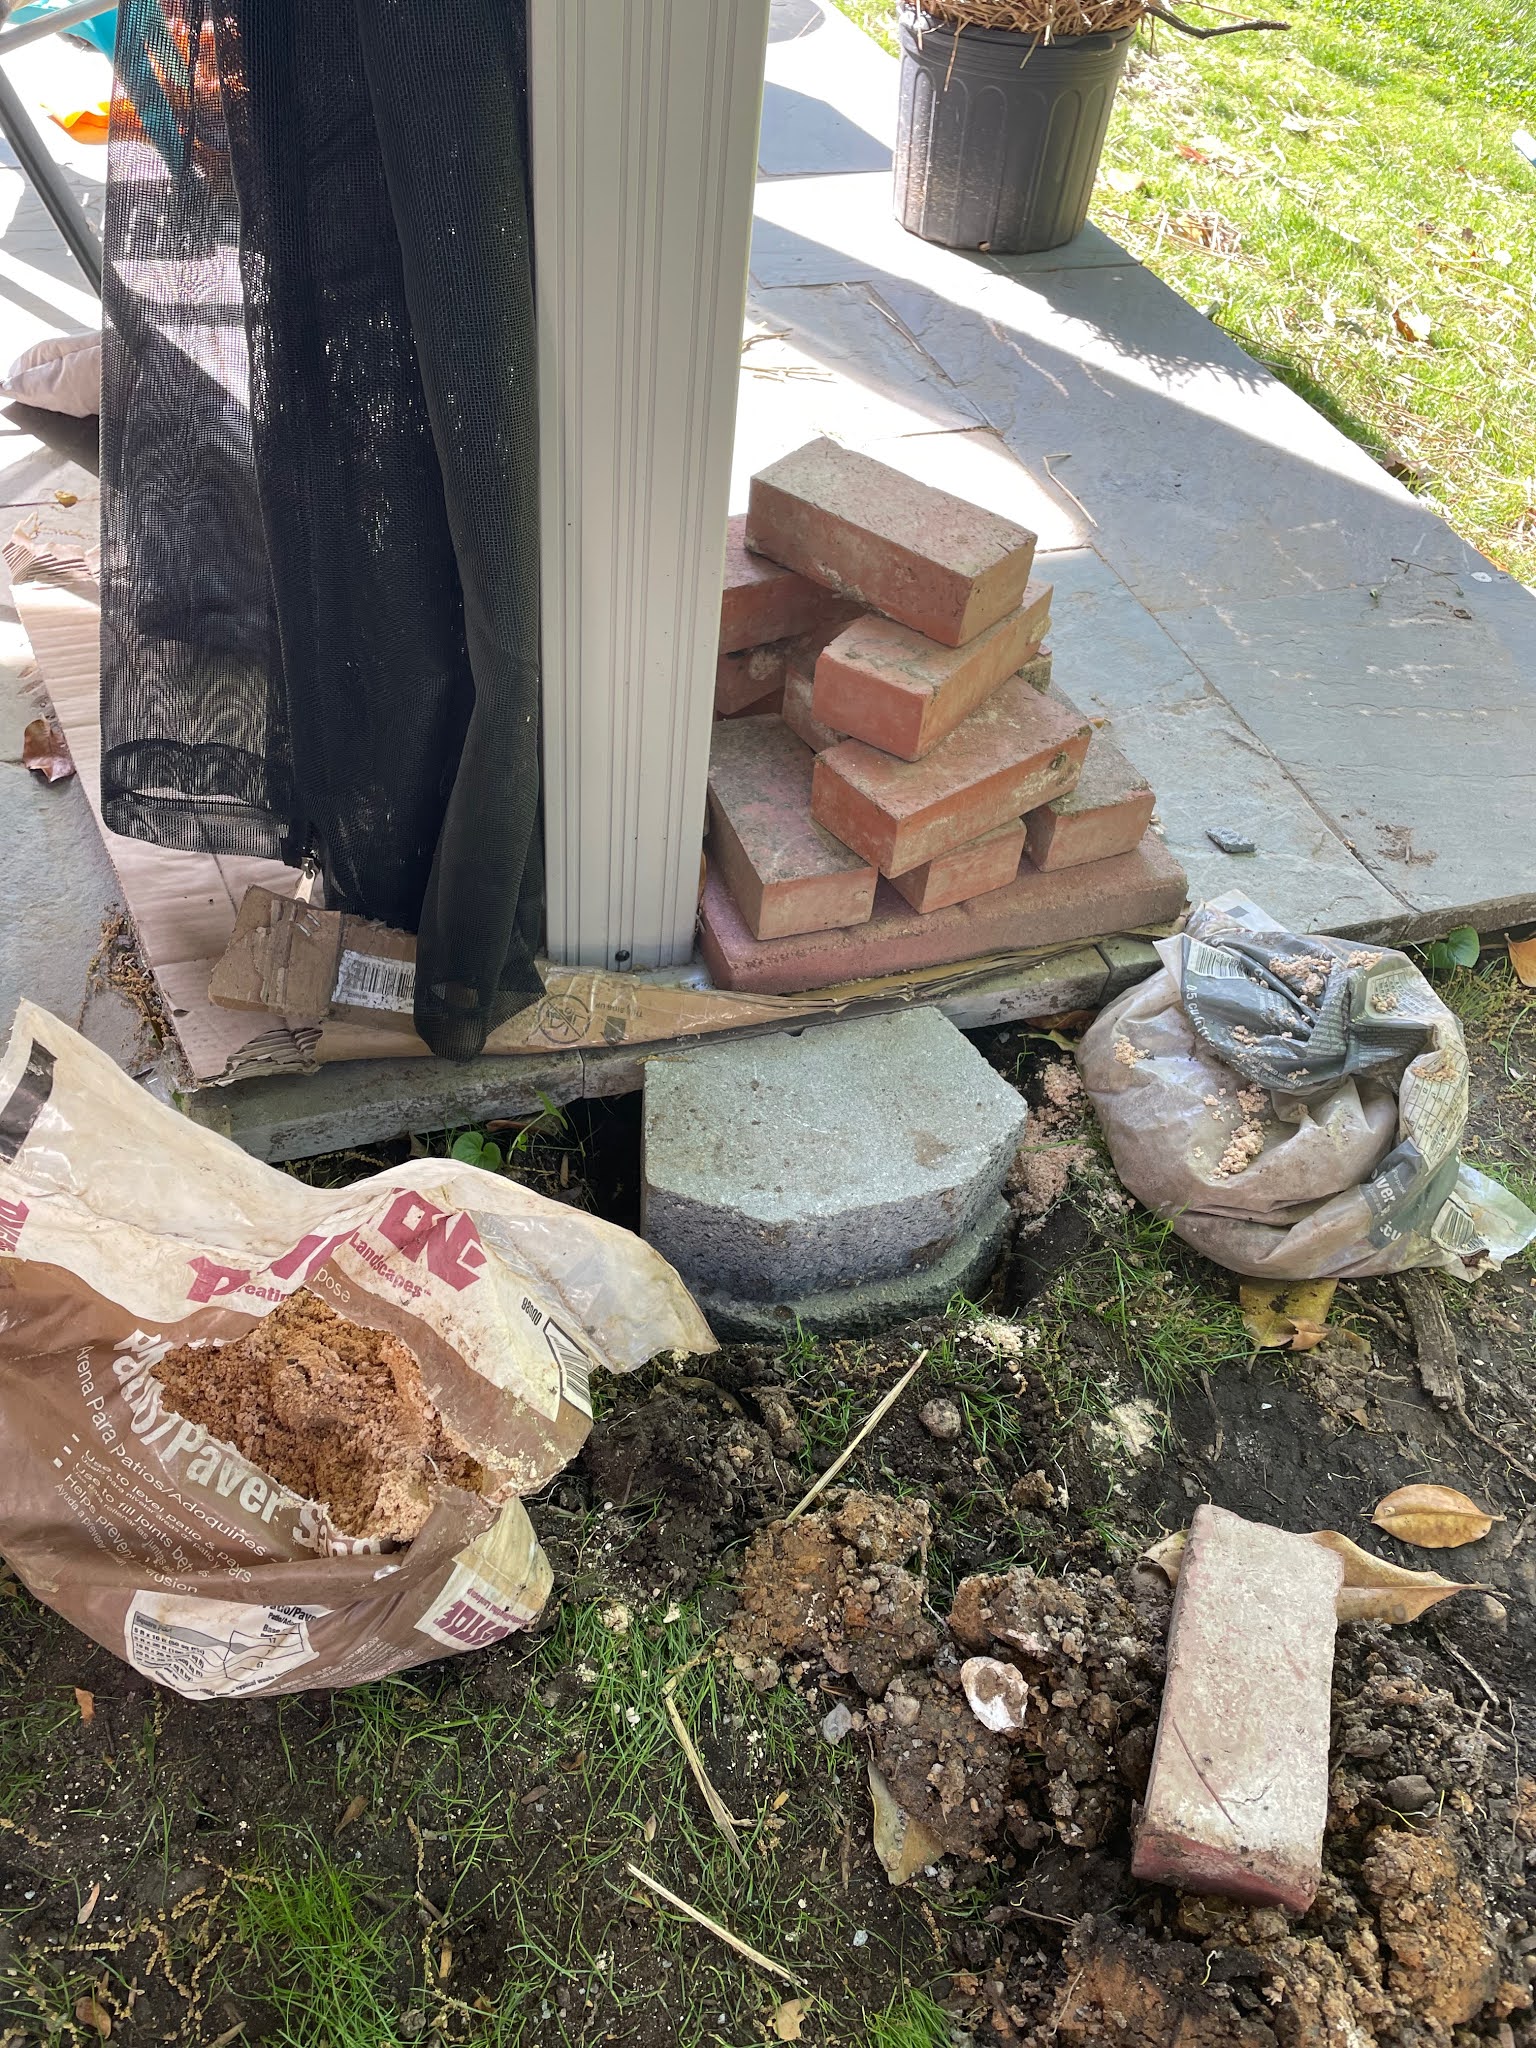
Because this gazebo has a vented cupola, it has an escape valve for windy weather and is at less risk of blowing away. Of course that doesn't mean we should trust it to fate. We decided to bolt one pair of legs to concrete blocks that we dug into the ground and anchor the two that sat on the patio with heavy flower pots. So step one: dig a hole (actually, step one was to shopping for the supplies was step one). We bought and glued together two concrete retaining wall blocks for this leg. At 22.4 lb. each, that seemed like a good additional amount of weight. The other leg only has one block because we hit a tree root and didn't want to damage it. It still seemed pretty good. Getting it level to the patio took some time, and we did not bolt the leg to it right away, to give us a chance to adjust if everything settled. To actually bolt the leg to the block, D used a hammer drill, which was a new one for us. It hammers the bolt in while turning, and is for exactly this kind of very strong material.

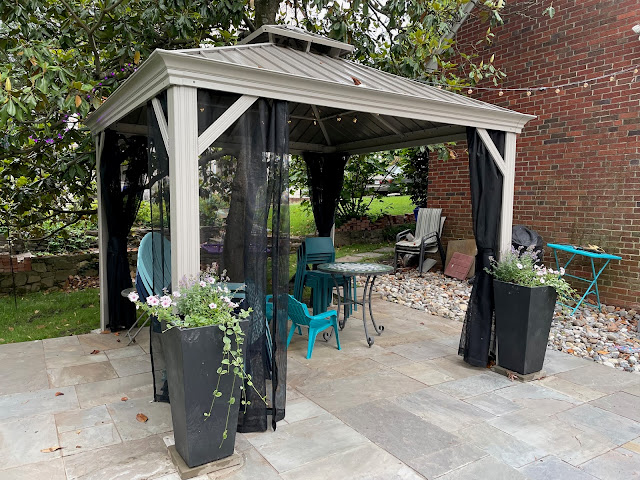
Then it was time to deal with the other legs, that would sit on the patio. For these, we bought 12'' x 12'' pavers and shopped around for thin, tall, heavy flower pots. That turned out to be a challenge, because most people prefer light, easy-to-maneuver flower pots. Or super expensive flower pots. We ended up deciding on ones made from recycled tires--less environmental impact AND heavier than resin and plastic.

Then we put some bricks at the bottom, for good measure, loaded it up with dirt, and found some pretty flowers to plant: cat's meow, petunias, and vinca vines.
I also added what I thought was a nice touch with some decorative pebbles in whites and sea-glass blues. We love seeing the bees enjoy our new flowers too.
Pollinator friendly!


Next up was getting some electricity and mood lighting into the gazebo. After thinking of all sorts of complicated ways we could try to run an electric under the ground in PVC pipe (and then reading lots of warning about why you should never do that with cheap, non-professional wiring), we decided for the most obvious route--above our heads.
After reading a bunch of string light reviews and learning that pretty much every option will fill with water eventually (and therefore stop stressing about finding the perfect solution), I decided on bulbs filled with little fairy lights. Instead of a single lightbulb inside each bulb, they contain a strand of lights. We strung them up along the cord leading into the gazebo and all around the ceiling. We love them!

Then after obsessing over trying to find the perfect light to hang from the hook in the center of the gazebo (long-time readers might remember that I LOVE fancy lighting from here, here and here), we found what we decided was an even better solution: a fan! It plugs in, which is perfect, since obviously we don't have an electrical box out there. At the time we purchased it, it was the only option. A second decent-looking choice has since come back into stock that might be a little better, but now we've already committed. The fan has been great at helping to cool us off and to help keep bugs away from us and our food when we're dining al fresco.

And with that, we are done! We love sitting outside in day or night. 


Ta-dah!

Saturday, June 5, 2021

We Built a Thing

I mentioned back when we had the patio installed that we had "plans" for it. One was the herb garden we built along one end. The other is the real masterpiece--a gazebo! I'll cover our progress over a few posts but, cut to the chase, it's done and we LOVE it. Let me tell you about it.

The purpose of the gazebo was to find a relatively cheap way to create a sort of screened-in porch. Because the back of our house has the slope of a cape cod and no back porch, there really was no realistic way to add on a porch without making major structural changes. We liked the idea of our brick (and now stone) patio but hate how the bugs feast on us all spring and summer (and fall). We liked the metal ones, usually made from aluminum, since they don't need treating the way a wood gazebo does, and opted for one with mosquito net curtains--they're not particularly stylish but they'll hopefully help do the job. 

We were torn on size between 10x10 and 10x12, but when the color we liked only came in 10x10, our decision was made. The purchase: Sojag Messina Sun Shelter in "champagne." The darker brown that seems to come more standard and is featured on the manufacturer's product page was nice, but we thought that the lighter color might keep the inside from heating up--a fear we had with the metal roof. It is probably true, now that it's all installed, that the extra two feet of the 10x12 would have fit just fine and been helpful, but oh well. Soooooo many parts.

And so, the construction began. This time, no professional crew, just two adults and some child labor. It became quickly evident that building the initial square was going to be a problem--holding the parts upright and attaching them and praying they didn't fall over and twist irreparably was...nearly impossible. Thank goodness we had helpers:
Soon, thanks to those helpers and a cordless drill with a hex set, at least the basic frame was upright.

Then the kids were sent off to play while D and I got the roof in place. We really liked the cupola design on this one--it should also make it a little less likely to get picked up by strong winds (but, as I'll discuss later, we're aren't just relying on this design element for that).

That took us until about the end of the day. "Good progress," we thought. Until we realized how many parts the roof panels came in. So many more parts and so many more bolts. But I'll save that for next time.