Please share your opinions and expertise since we need all the help we can get!
Showing posts with label roof. Show all posts

Sunday, July 7, 2024

Raise the roof 2

I left you in suspense last week. The roof and roofers did indeed come the following day and worked all that day and all Monday. After that, we had a roof! (Let me just say after watching them work long days in the heat on top of precarious ladders that whatever they are being paid, it is not enough.)

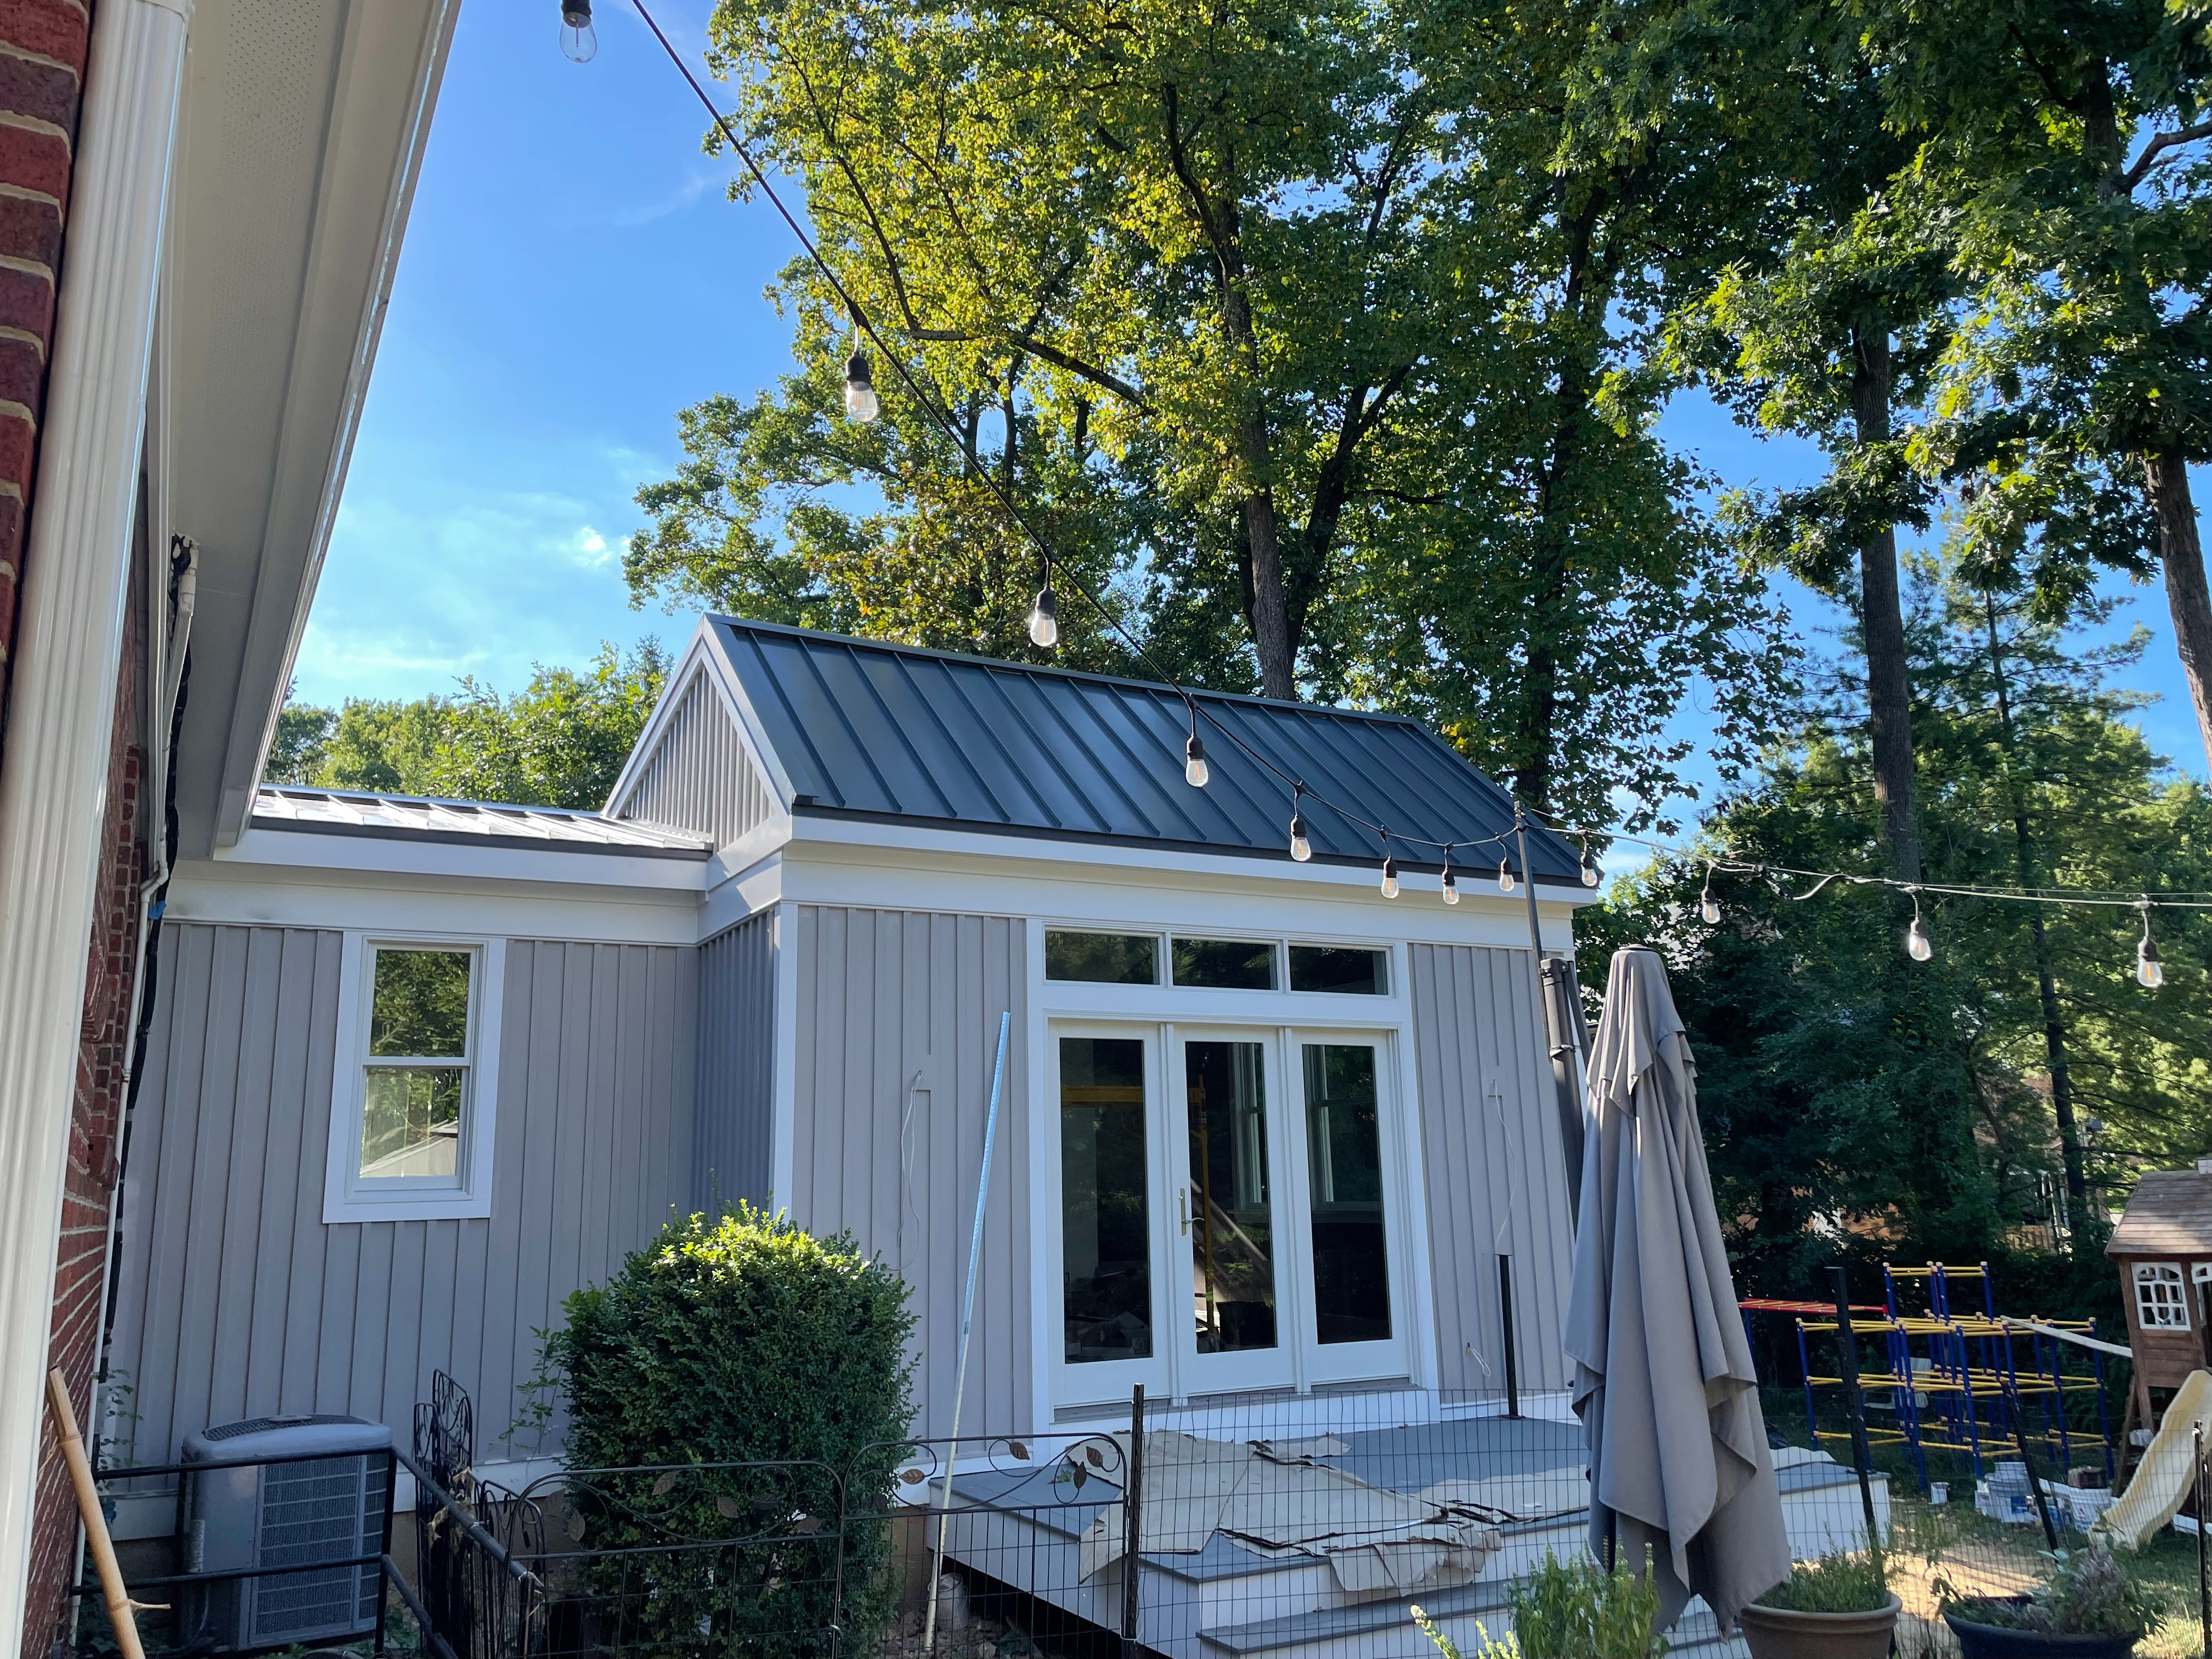
Here was the view after two days of work. We love it! We briefly popped in during some rain to confirm that it does not sound too loud in there, so that's good too. Thicker metal and good insulation will hopefully keep it to a peaceful patter and not a steel drum.

Another few days later, we had gutters. They are visibly slanted, which I guess is how gutters are installed these days? It sort of drives me crazy, but it will send the water in the right direction. We're wondering how much to quibble with the contractors since they agreed to provide gutters and downspouts "to match existing" and clearly our existing gutters have leaf guards on them.

Impatient at the progress in the addition, we're moving forward on our own projects. We bought some furniture to go in there so that we can be ready when it's time to move in (more description of those later when they're out of their boxes). Not too much, as we have to keep finding places to store them in the house and garage, but we do now have bed, mattress, curtain rods, and curtains: the things that really need to be in place for us to sleep there. We've also started trying to find things to do to speed up the upstairs transitions to big-kid rooms despite the fact that we're all still sleeping up there. Here's our first project.
I forgot to get a "before" picture, but just take a look at this post from when we built the IKEA Stuva wardrobes more than 10 years ago and add more mess and flare (some vinyl decals, a ribbon running down the front to hold hair clips, etc). Those three wardrobe units are still in the room--in fact you can see two of them in this picture (one at the far right edge and one in the dormer window area, with some out-of-place kid posters on it just to keep them safe). We can't remove them completely because then where would we put the contents?

Spackle, sand, and wipe-down later, with some drop-clothes at the ready (right after we took this picture we realized we'd need to shut the door to keep a very mischievous kitty out of the room):
There's no question that we need primer on this wall, with that bright green paint. We scavenged the leftover gallons in our basement and used a combination of a few different latex primers (not mixed together, just on various parts of the wall). As per our usual painting MO, D rolled and I cut in:
While having a blue sky ceiling was always my childhood dream, it was not, alas, my daughter's. She requested a white ceiling, so we're using Sherwin Williams Premium Ceiling Paint in Pure White. They grow up so quickly.
But still we're not all dark and emo (yet?). This room is making it's transition to Appleblossom, a pink that counts among Sherwin William's "historic colors" and is sufficiently muted to pass our standard of "will you want to look at it in 5 years?" compared to some of the other pinks on the list that were too pastel or bubblegum and would sicken even a young pre-teen.

The purple corner, repainted from green when we needed the hole repaired after the tree fell on our house, is staying purple. So this room is going to be about as girly as they come. 

Why are we starting on painting while the kids are still living in there? Well we're about to embark on an ambitious home IKEA hack with some PAX units (yes the same kind of units that we're installing in the addition) to give this room the look of a built-in closet and it's going here on this wall. Since it will take some time to construct, we wanted to get started on it now, so it won't significantly delay the eventual kids' moves. This is the only part we're painting until we can get the kids out of the room and the furniture pushed to the middle and under a tarp. At least it feels like we're getting somewhere while we wait for the addition.

(I'm tagging this room as "nursery" because I always have before, but clearly it needs a new label...)



Sunday, March 31, 2024

Meddling with Metals

The next few days will be some invisible goodness - the HVAC system is in place and the plumbing and electric are coming next week. So while that happens more-or-less behind the scenes, I can agonize over our choice of metal finish in the bathroom.

Our default metal choice since we've lived in our house has been brushed nickel, with the only exceptions being things we inherited from the previous owners, like our rubbed bronze curtain rod and sunroom double doors, and the polished chrome faucets in the main bathroom (that we then used to match with other things we added, like light switch plates and vanity lamps). But since for this bathroom we're starting from scratch, we can choose what we want. Brushed gold and black are clearly having a moment. And while black is too dark for the look we want, we're very drawn to the matte gold that is so *in* right now. In fact, it comes with the vanity we're planning to get, whether we want it or not:

So what's the problem? Well, there are a LOT of fixtures in our future bathroom, which means a lot (too much?) gold. In addition to the vanity faucets and drawer pulls, we plan to have our recessed mirrors framed in our metal of choice (not blue like in the above picture). Something like this:
We are DEFINITELY not doing the skull-busting unframed beveled edge mirror like we have in our upstairs bathroom. I regret that choice daily as we all struggle not to literally cut our heads open. There's also all the hardware that will go into our shower, which will have a similar set-up to our upstairs bathroom--a handheld shower head on a slide-rail with a metal hose (the shower being a choice that I loved, and I'm bummed that the links I posted in 2012 only lead to Kohler now, and not to specific products because I would definitely just buy them again). And then we have...the towel warmer.

Yes, we're going European style with a towel warmer, a feature I love in every airbnb or hotel that has one. And here's the biggest problem. Do we want what would essentially look like giant gold stripes on our wall, when our default preference is for silver? That's a LOT of gold, and it's hardwired in and not something we would want to replace in a few years if we get bored with gold. And finally--turns out gold (technically brass) is hard to find. We'd pay a much higher premium, assuming we could find it at all. I can't even find a good stock photo, so here is what we're getting, in brushed nickel:
Then we have to decide how much everything needs to match. What about door pulls for our pocket doors? What about the powder room across the hallway, since we're trying to keep all design elements the same to make sure that they feel like one space? That would mean the toilet paper holder, the flusher, and the faucets to the small sink in there. 

Or do we mix and match? How do we make this feel like a coherent whole? The "easy" button is to just ignore the included gold hardware for the vanity and stick with brushed nickel. It would look something like this (ignore the "out of stock" sign, since this isn't the exact one we're getting). Not as much pop, but certainly safer all around:
Or we could do gold for the vanity wall (vanity, faucets, mirrors, and vanity lights) and brushed nickel elsewhere? That feels like it could look accidental and haphazard. As always, my fashionable friends have lots of great ideas, so please share yours!

Edited to add - now that we're seeing how truly hard it is to find the right color gold in a towel rack and how some other things are odd in other ways (some mirrors are edged in black but not gold, etc.) AND having found this article, we're thinking that a blend of black and gold (maybe even with a light fixture that blends both) might be the best approach here, so we can stick to gold where we want to and use black when we can't. Thoughts?

While we're on the topic of metal, the roof brand we'll be using changed to PAC-CLAD and we have a new selection of colors to choose from. We were surprised that our slates, which look so consistent on our roof, are quite variegated, leaving us a lot of choices. Still, we're nothing if not a cool gray family, so we went with charcoal (third row down, second from left) rather than some of the warmer grays like the one next to it and the one diagonally down to the right). I'm excited to see what it will look like once it's in place.


Sunday, November 26, 2023

Raise the roof

In trying to think of how to talk about all the components to our addition, I thought I'd break it up into a few different topics to make more manageable blog posts. This is where I'll walk through our decisions from the early phase to today (and by today, I mean the phase where we are literally in the final approval before it all goes off for permitting! Eek!).

I figured the best place to start was at the literal top, so here's the post where I'll talk about our roof--the planned roofline, the materials, and everything related to the top view of the new space. For several reasons, we knew pretty quickly in the process that we didn't want a traditional gabled roof (a gabled roof is the roof that comes to a point at the center. It's what you probably think of when you think of a "roof" --the leftmost one below):


Why not? Well, first, and a common theme that will come up with this addition, is that we don't want to attempt to match our current house too closely, and, most likely, fail miserably. Our house was build over 70 years ago, and trying to make an addition that looks original is going to fall short, probably in a really ugly way. "Matching" brick and slate and other components will make everything look just slightly...off. So we don't really want to try. The other reason is this:

Here's the view from the back of an addition with a gabled roof (ignore other things like the covered roof/porch--that's a different post). Now take a look at our three upstairs windows (here's the current view, to refresh your memory):


See how you can't see two of the windows once we add the new addition? Yeah. Imagine what the view likes like from inside...Who doesn't love a view of a roof?

Now check out the same view, with a shed roof. See how much more visible the upper story windows are? But we weren't done yet...


That shed roof was the planned designed for a while, since last spring when we came up with our "let's pause this for now" plans. But one of my main concerns was how bright it would be in our future bedroom, and how expensive the window dressing would be that we would need to block that extra light. In addition to that upper level of slanted quadrilaterals on the edge you can see from the above view, there was also this set of extra windows above the doors that look out onto our patio. It seems silly to pay extra for more windows when we want the bedroom to be relatively dark and would therefore have to find expensive solutions to cover them. Enter: the final roof design!


We arrived at this after a few more attempts to find the right way to angle the vault:

This one still had enough space on the porch side that we had to include windows there, defeating some of the point of the new drop. It also just looked ugly.

This one looked fine but by moving the high point so far into the room, we felt like we would lose some of the airy/lofty effect of the ceiling opening up from the bed wall, since the ceiling starts descending before it gets as high, and right over the bed rather than past it.


Here's the finally roof design from the patio view, as well (you can tell it's from much later in the design process, when we're getting into the nitty gritty for permitting). Yet another reason we liked angling the roof back down a little was to get some roof line back into view here. Otherwise it was just a rather imposing wall of (many) windows:
And so with a final roof slope for the addition in mind, let's talk materials. We've now gotten to the point where we have a "spec sheet" with brand names "or equivalent" to price out with contractors. So we already know our roof will be a Berridge Tee-Panel standing seam metal roof. It's hard to talk roof color without talking about siding, and we're not there yet, but I think based on our siding choices (next time, maybe), we're going to go with a lighter gray roof, maybe Zinc Gray or Cityscape. The hope is that a lighter color might get less hot and and ideally, we'll get a pretty close match to our current gray house siding. We'll hopefully get to see some swatches in person. We've asked for it to be well insulated both for energy and also sound purposes (rain on a metal roof--peaceful? or deafening?).

A note on the part of the addition where the bathroom and hallway are--what the architects are calling "the hyphen": that part will match the addition in material (i.e. be a metal roof) shaped in a traditional gable centered over the middle. The only CAD view we have of that is from above:


Sunday, August 20, 2017

Progress at last

After three days of fans and heaters, the water people judged we were dry and took their equipment away. And then we waited. And waited. Furniture was still scatter at inconvenient spots around the rooms, making toys, crafts, and books inaccessible. Insulation fluff still fell on our heads. We moved the kids back into their room, where at least there beds were under real ceiling and away from falling insulation. We vacuumed piles of fluff daily - it seemed to make its way everywhere.

Our adjuster finally came over the following Monday to look over everything and agreed to our repair plan. But by then our roofer was on vacation. Fast forward yet another week - and a surprise visit by a roofing specialist brought in by the insurance. He actually pulled up a board covering the hole in the roof, leaving just the tarp. That made for a very loud rainstorm that evening when rain pounded against the plastic sheet (at least no water seemed to come in). Also made for a strange, almost pleasant blue glow as the light from outside came in through the blue:

Finally FINALLY last week, after two weeks of no change, things started happening. On Monday, these appeared:
New slates for a soon-to-be repaired roof. Tuesday rained (AGAIN) so the roofer couldn't do the repairs. Fortunately Wednesday was dry, and I came home to:
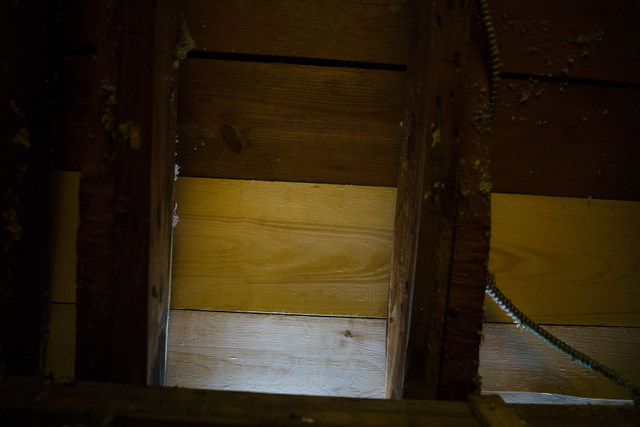
A huge improvement over the tarp that had been hanging over our house since the tree fell in late July. Note that we have a new top gutter and a bunch of new slate. The roofer rearranged slates so that the new ones are where we can't see. He used older slates to repair the holes visible from the ground so that they would match. From the inside, we have new wood over the hole the tarp had been covering:
 We were still not sealed though - I guess not the roofer's job to do that part?
 Hi outdoors!
D sprayed some expanding foam through there to block a little more airflow. On Thursday, the water people came back to certify that our house was still dry before we began drywall repair. It was, yay!

Friday the dramatic change occurred and we came home to new drywall and plaster. Also drywall dust everywhere (especially unfortunate since we had the house cleaner here on Friday too - bad planning but originally the builders weren't supposed to start that soon).


Next up, more layers of skimming and sanding and then the painting process can begin. There's a two week wait for our window but at least the rest might start to look normal relatively soon.

Monday, November 12, 2012

Sandy Fever

A couple of weeks ago Sandy moseyed on by the house. She left us copious amounts of rain, oodles of downed twigs, and one large branch which decided to visit our roof and gutter on the way down. Fortunately we kept power during the whole event - which made me happy since I didn't have to manually empty the sump.

Here's the temporary swamp. This area always goes mushy when it rains a lot. At some point we should figure out whether we can direct the water any better. At least it's in the very back corner of the yard.

The branch. I had to put the blue bucket underneath the gutter so too much dirt wouldn't wash away. 

Branch + house = broken stuff. The gutter seems happier now, with it's silly grin. Just a little drooly.

$125 later, our roof guy replaced a few tiles and bent the gutter back. Our other options were: whole new copper gutter or just a few new feet of copper gutter. At $25/foot we weren't too interested in getting any new gutter installed. Also, new copper is very shiny, so the house would look very odd for at least a couple of years if we only got a few feet installed. So here's the original gutter, just hammered back in shape.

Not too bad. We've been living here for over three years now and have had blizzards, wind storms, tropical storms, and numerous power outages and have filed zero claims for the insurance company. They really should be dropping our rate!

(Here's hoping this post doesn't jinx us!)

Saturday, January 7, 2012

Days 9 and 10: Venting and Tiles

This post on Thursday would have complained that progress was slow-going. The walls got a coat of primer, so have begun to look almost normal.
Plus the fan installation began...and maybe got completed. We're just waiting for a call from our roof guy to explain exactly what was needed and how far he got. Oh, and what we owe him, of course. See, when we realized that any ceiling fan would vent directly into the attic, our bathroom remodelers proposed just hooking the fan up to a hose that would vent somewhere into the middle (high portion) of the attic and then, at our convenience, we could hire someone else to cut a vent in the roof and attach the hose. It sounded logical, but as we did more research (i.e. read things on the Internet and talked to my much more knowledgeable parents), we became uncomfortable with the idea of leaving this unresolved to build up moisture in the attic.

Fortunately, we have an awesome roof guy who agreed to work with the contractors to at least make sure they used a hose with a diameter he could work with and leave it positioned where he could reach it. He explained that he was busy this week but would come next week to actually construct the vent pipe. Oh, and he quoted us a very very reasonable price. (Deep breaths all around.) So we put him in touch with our bathroom people and hoped that they would talk amongst themselves and reach a conclusion.

Then Thursday we came home to discover that not only have he contacted our bathroom contractors but he had come by to work with them, went up on the roof, and installed a vent (we can't actually see it from the ground because of the roof angle and height at that point). So we may be all done. But since we haven't actually talked to him, we're still hanging on the final details. But, in the end, we have a fan. And a fan that actually blows things somewhere that isn't harmful!
Otherwise, that was it for Thursday, so it was pretty anticlimactic to come home to. Well that changed on Friday. Roberto had finished all the tiling! The walls look beautiful and go from the bathtub clean up to the ceiling.
The floors are cut exactly like we asked, in a diamond pattern to offset the up and down lines of the shower area.
We did end up finding one thing that we asked to change. I'm not sure if you can tell from this picture, but the tile and the bullnose grid lines are all in sync below the glass accent tiles. Once our tiler got to the glass tiles, he just kept laying bullnose tiles straight up, so the lines get out of sync (they actually get offset by exactly half a tile, since our glass tiles are 6'' and our square tiles are 12''). We didn't care if they were in sync or not (completely staggered, random looking or exactly lined up to the mid-point or exactly to the gridlines) but it bothered us that they weren't consistent the whole way up. So we called our designer last night and requested that he ask the tiler to remove the last 3 bullnose tiles (6, really, since the same thing is on the other side of the tub) and cut new ones to line up exactly with the squares. Now I feel like one of those whiney home owners who micromanages every detail...Oh well, even though the shower curtain will block the bullnoses anyway, that misalignment would probably bug us over time, so it's worth fixing now.
No one can claim these guys aren't hard working. They were on such a roll yesterday that they called to ask if they could please work the weekend, which could result in finishing as early as Tuesday. Today they are going to grout and paint, which is good because I really want to peek in and learn about grouting (next step for us, once this bathroom is done, is to regret the downstairs shower ourselves). Hopefully the tile adjustment won't put them too far behind.

Sunday, May 2, 2010

Gutters Where They Belong

I came home on Thursday to this:


All 45 feet of 6 inch seamless aluminum gutter, just sitting in our front yard:

Fortunately, the following day I was greeted by this sight:

Gutters! Back where they should be under our roof. In the end, we went with a local roof and gutter guy who gave us an amazingly good price that included replacing two cracked shingles. He didn't suggest capping our fascia, like one of the other guys did, and was even able to reuse all our gutter guards, which were just lying in the yard where they had fallen. We can see why this repairman is a local favorite.

And now our attention is turned to other things that are unfortunately very expensive. Our purchasing "to-do" list includes an energy audit, a tree assessment, dressers, mattress, curtains and hardware, and possibly a second bed so that we can have a double-layer bed frame. But today we had to reprioritize when we noticed that our basement windows were steamed up from a sudden heat wave. And so we bought this bad boy:
For once I decided not to research a purchase to death and just buy the number one-rated dehumidifier on Amazon. I figured if everyone else liked it, so would we. It has a tube we can run down to our drain and apparently works well, so hopefully that will help keep our basement a little dryer.

Owning a house is expensive! But at least we are still having fun.

Sunday, February 14, 2010

The unfun part of snow

Our house has received a lot of snow this winter. It's been very pretty and we've been very fortunate to not lose power, unlike many of our neighbors. Unfortunately the gutters are getting hammered. The snow is melting, then freezing into, onto, and over the gutters.

The front of our house gets the majority of the sun and is suffering most acutely from the ice issue. I've been knocking off the snow and ice from the edge of the roof every day. It hasn't been too hard, since I can reach the roof with a shovel from the ground.

I haven't been worrying about the back of the house since it's perpetually in the shade and shouldn't get the snow-melt to ice issue.

Wrong.


I think the kitchen vent in the bottom of the photo may have contributed to the extreme melting. I knocked the ice off, but the gutter was "linear-ized". That is to say, the gutter has changed in shape from a "U" to a "I". That'll probably have to be replaced come spring. Unless it can be bent back into shape.


Unfortunately that wasn't all. 

This portion of the gutter toppled down when I tried to knock the ice off it. The screws just ripped out of the wood trim. When the snow goes away we'll have to evaluate whether it can be bent back and salvaged. Probably not, though.


Unfortunately, the gutter looks like a continuous piece, so the entire gutter for the back of the house may have to be replaced.