Please share your opinions and expertise since we need all the help we can get!
Showing posts with label lamps. Show all posts

Sunday, June 11, 2023

Where to begin again...

Posts have been few and far between due to other priorities (knitting, anyone?), life events, and well, because we've been too busy doing things in our home to record them. But we have some big things on the horizon so I might as well catch up with the smaller things over the next few months and try to build some momentum so...hi. We're back.

It's growing season, so as any regular reader will know, it's time for a lawn and garden catch-up. But let's talk about some of the hardware on the way to the outside first. Last fall, we updated some fixtures that put the finishing touches on our siding refresh from spring. Our outdoor lights in the front seemed like they were probably from a discount value pack several decades ago. It was definitely time to swap them out for some curb appeal. The post itself also needed some refresh--it was showing signs of rusting at the top and bottom. I've spray painted it one already, probably almost 10 years ago now (but somehow I couldn't find a post for it when I looked), so that held up pretty well:


After a quick sand-down to remove some of the rust and a wipe with a damp clothed, I went to work applying a few thin coats:
More dramatically, D tackled the electrical work, replacing the topper with one made of clear glass and an Edison bulb (the kind with the exposed filament, a style we've turned to multiple times before, and which you will see again in a future post). This is actually the second post topper, as we originally bought one that was much too high and out of proportion with the rest of the lamp post.
Of course the rest had to be replaced to match! The lamp right next to the door came next:
As always, a mass of old, deteriorating wires greeted us. Nothing too surprising though, so we just proceeded with the new fixture.
Tah-dah! But wait, there's more!
We forgot to get a "before" picture for the light over the garage, but it was similar to the other two, with the plastic shade and black construction. The wires were less deteriorated than next to the front door, but just barely.
Now we have three lovely, matching exterior lights (though the lack of a more sealed-off receptacle does mean things get a little dusty inside).
Coincidentally with all that, our front door hardware abruptly failed one day, almost locking us out. It wasn't the Schlage auto-lock that died (which you might expect, given that it has a battery and small computer) but the mechanism in the doorknob itself that pulls back the latch bolt. It failed pretty spectacularly--D had to uninstall it immediately just so we could get in and out, so it became important that we replace it immediately (the dead bolt still worked independently, fortunately).
Once we went looking, we wondered why we hadn't replaced it sooner. All our front door hardware is brushed nickel, including the storm door handle and our smart lock, and yet we had inherited this oil-rubbed bronze pull (oddly paired with a nickel doorknob on the inside). Why had we kept it so long? I guess it simply wasn't something we had thought of. But the new fixture (on the right) is so much prettier.
Even better, we replaced the slippery inside knob with a lever. This works better for so many reasons! Easier for Grandma (arthritis), me (hand lotion and mittens/gloves), and the kids (tiny hands). Yet another thing we never really considered replacing and yet made a big difference. 

It took one extra try to get right--we were so un-used to levers that we selected the wrong one at first, and had to reinstall the second one that came in the box when we realized which way the lever is supposed to swoop:

And because this is the house of a knitter, it seemed like a good time to upgrade our door wreath too (partly because the UV effects on the old one made all the plastic so brittle it left piles on our floor every time we opened the door):

The lights and handle weren't cheap, but they weren't expensive either. One of those things that can make a big impact in tiny details that seem so obvious afterwards.

Next time, stay tuned for a big yard update as I try to get back in the swing of things.


Saturday, June 12, 2021

Gazebo Glory

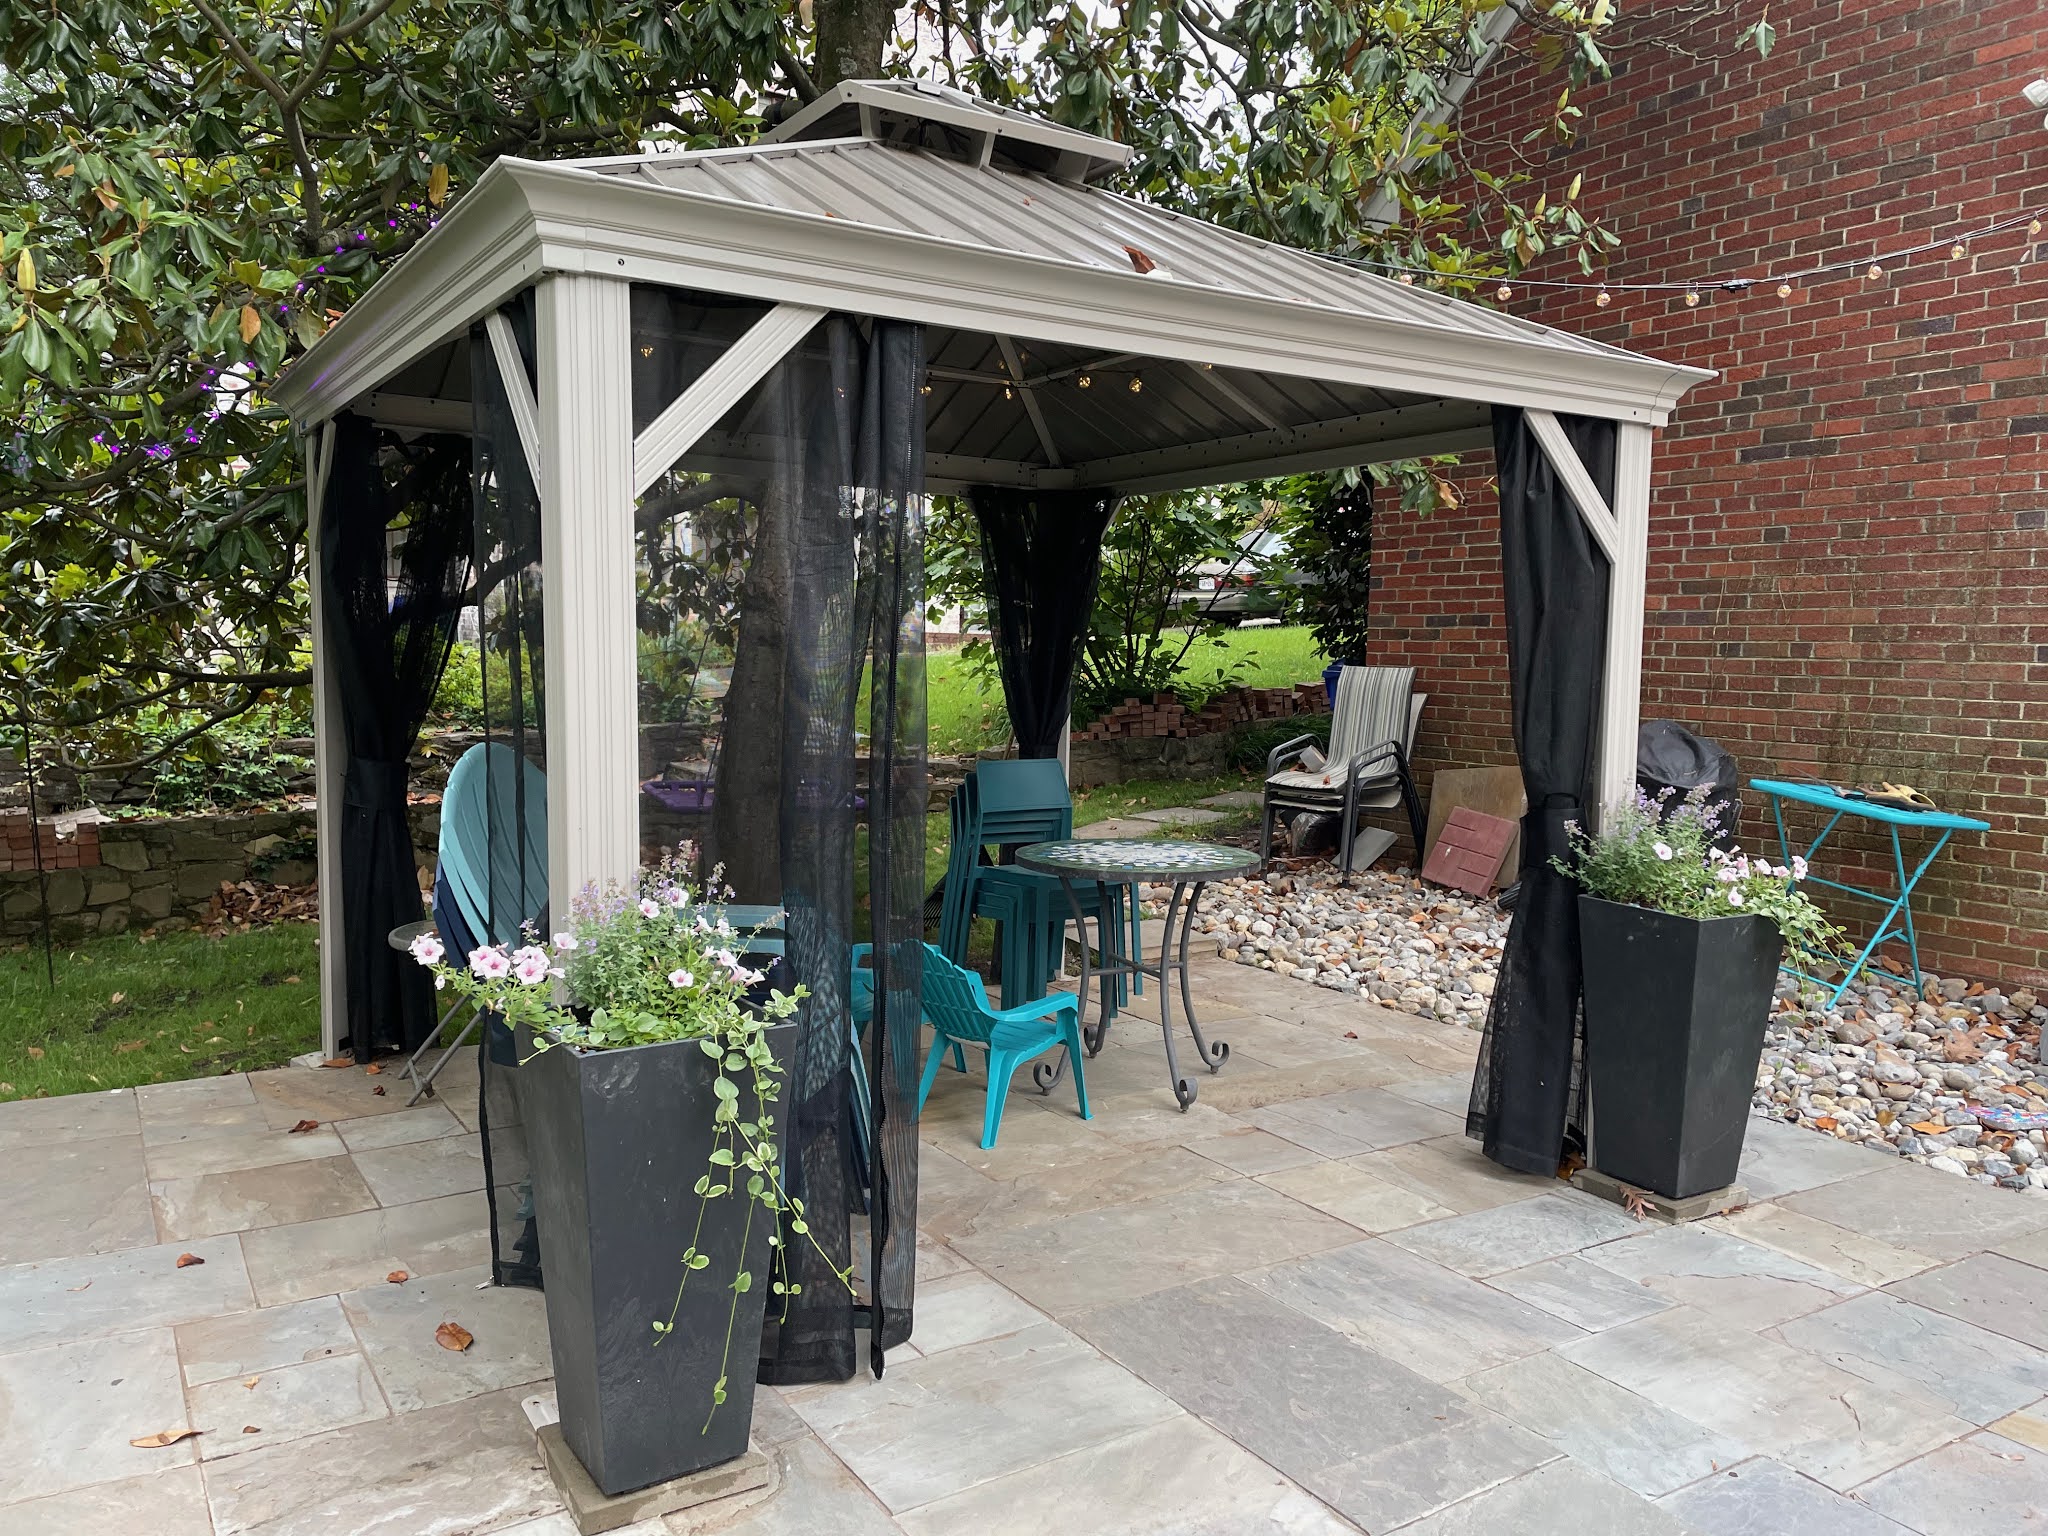
To continue from last week's post about our gazebo, I thought I'd go past the rest of the building part, which meant fitting the dozens of panels into the roof frame and cupola frame and bolting them in--because really what else is there to say about that--and talk about how we anchored and decorated it.

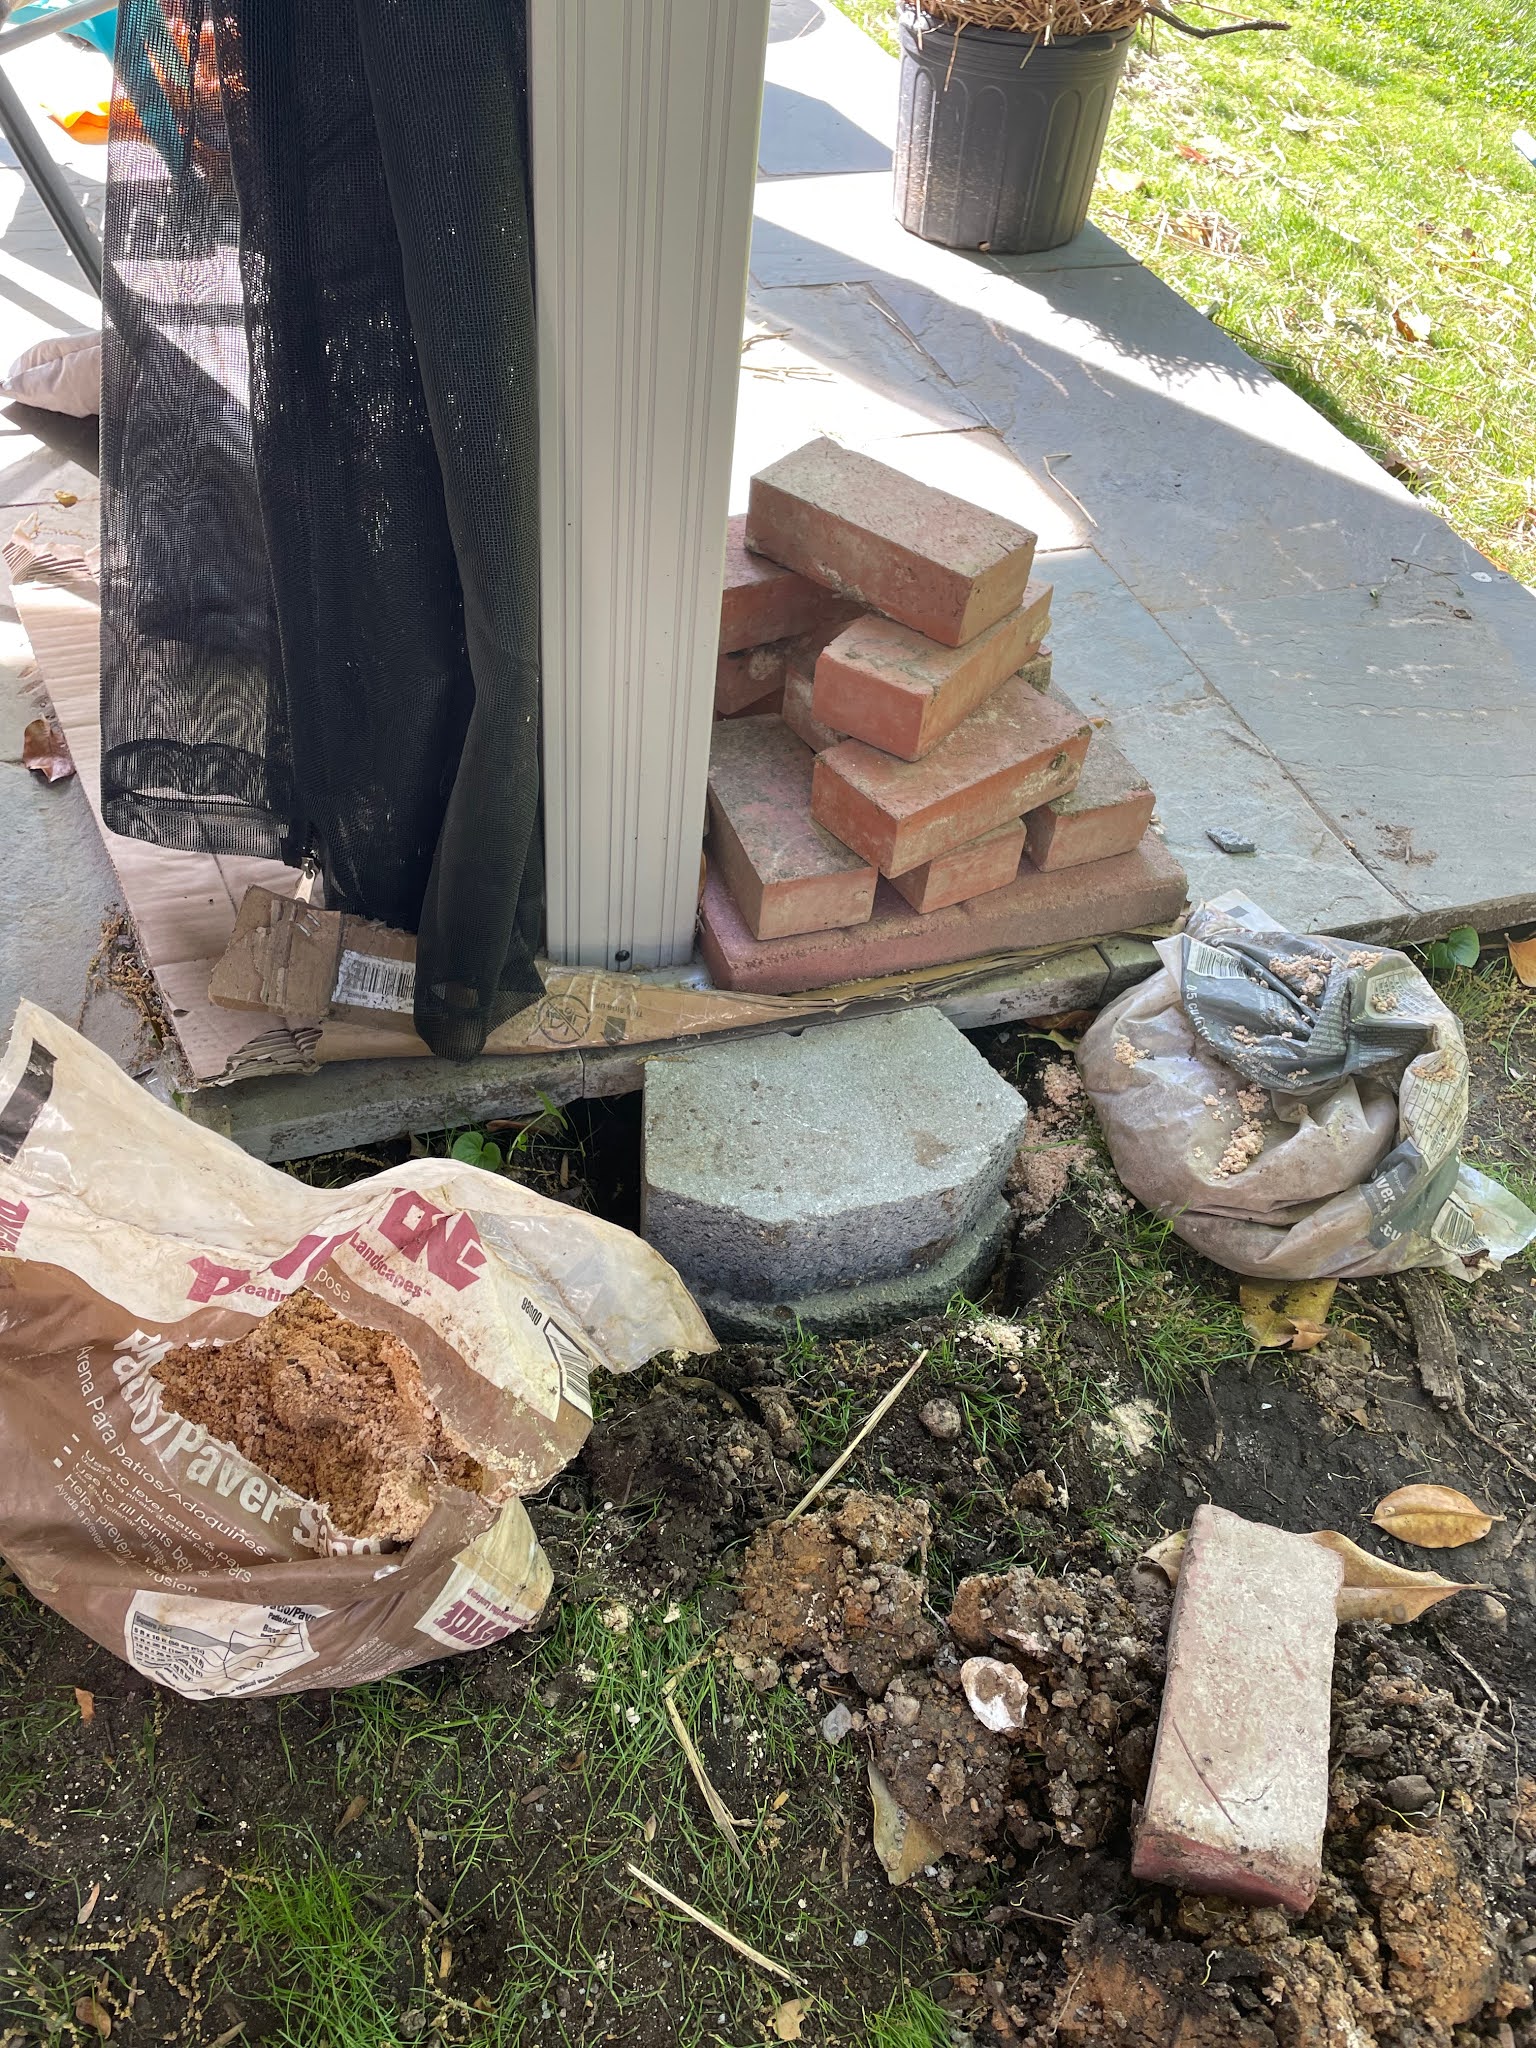
Because this gazebo has a vented cupola, it has an escape valve for windy weather and is at less risk of blowing away. Of course that doesn't mean we should trust it to fate. We decided to bolt one pair of legs to concrete blocks that we dug into the ground and anchor the two that sat on the patio with heavy flower pots. So step one: dig a hole (actually, step one was to shopping for the supplies was step one). We bought and glued together two concrete retaining wall blocks for this leg. At 22.4 lb. each, that seemed like a good additional amount of weight. The other leg only has one block because we hit a tree root and didn't want to damage it. It still seemed pretty good. Getting it level to the patio took some time, and we did not bolt the leg to it right away, to give us a chance to adjust if everything settled. To actually bolt the leg to the block, D used a hammer drill, which was a new one for us. It hammers the bolt in while turning, and is for exactly this kind of very strong material.

Then it was time to deal with the other legs, that would sit on the patio. For these, we bought 12'' x 12'' pavers and shopped around for thin, tall, heavy flower pots. That turned out to be a challenge, because most people prefer light, easy-to-maneuver flower pots. Or super expensive flower pots. We ended up deciding on ones made from recycled tires--less environmental impact AND heavier than resin and plastic.

Then we put some bricks at the bottom, for good measure, loaded it up with dirt, and found some pretty flowers to plant: cat's meow, petunias, and vinca vines.
I also added what I thought was a nice touch with some decorative pebbles in whites and sea-glass blues. We love seeing the bees enjoy our new flowers too.
Pollinator friendly!


Next up was getting some electricity and mood lighting into the gazebo. After thinking of all sorts of complicated ways we could try to run an electric under the ground in PVC pipe (and then reading lots of warning about why you should never do that with cheap, non-professional wiring), we decided for the most obvious route--above our heads.
After reading a bunch of string light reviews and learning that pretty much every option will fill with water eventually (and therefore stop stressing about finding the perfect solution), I decided on bulbs filled with little fairy lights. Instead of a single lightbulb inside each bulb, they contain a strand of lights. We strung them up along the cord leading into the gazebo and all around the ceiling. We love them!

Then after obsessing over trying to find the perfect light to hang from the hook in the center of the gazebo (long-time readers might remember that I LOVE fancy lighting from here, here and here), we found what we decided was an even better solution: a fan! It plugs in, which is perfect, since obviously we don't have an electrical box out there. At the time we purchased it, it was the only option. A second decent-looking choice has since come back into stock that might be a little better, but now we've already committed. The fan has been great at helping to cool us off and to help keep bugs away from us and our food when we're dining al fresco.

And with that, we are done! We love sitting outside in day or night. 


Ta-dah!

Thursday, March 18, 2021

Of course something would break

Of course we'd have a sudden house issue exactly when we're in the midst of an expensive elective upgrade. On Friday, we noticed the under-cabinet lights flickering in the kitchen while we were preparing lunch. Then this week, we started to notice that the flickering seemed to sync up to when we were running the microwave. And the microwave was sounding a little loud.

It seemed pretty ignorable though. Maybe a weird power draw, yes, but ignorable.

Tonight though, the office power went out when we reheated dinner. Uh...ok this has officially escalated to no-longer-ignorable. The microwave seems to be the culprit:

But, I said, our microwave is pretty new! It can't be the microwave! How long is a microwave supposed to last? Well thanks to this blog, I was able to tell pretty quickly how old the microwave was. Seven years old. To the month. To which I thought, "See? That's too new to need replacing."

Google, however, has other ideas:

Touché, Google. 

And given this last year, let's just say that we're using it a whole lot more than we used to, since we're home and preparing food ALL.THE.TIME.

The problem now appears that the light in the office will no longer turn on, even after we reset all the GFCIs that were tripped. We tried replacing the bulbs just in case those were at fault. But no.

So we're left with a conundrum of whether to buy a microwave or hire an electrician. It seems like the internet agrees that our microwave should not be on the same circuit as other normal things like lamps and outlets, so that might require some electrical work. And this light might be completely busted. D suggested taking the fixture off to test if the wires were still working, but that feels like a step too far in the "leave for a professional" direction. We change fixtures, but only when the circuits are off. Deliberately turning them on to test whether the electricity is flowing is where I draw the line. And so it's a chicken and egg problem: do we call the electrician or replace the microwave?

(For better or worse, we made a decision: new microwave arriving on Monday.)
 

Tuesday, January 15, 2019

Low Expectations

Oh loyal reader, the only one left. You may have noticed that the volume of posts dropped significantly after July. It's not just the posting - it's also the work around the house. What changed? Well to briefly touch on our family life, something I usually avoid in this post, our oldest stopped napping on weekends. That precious time was our perfect time to tackle small (or even large) project. And blog about them. But that is a thing of the past and we now often use that time to do non-house-related things.

And so with that in mind, it's time to talk about 2019 projects and goals, and we're keeping our expectations small. For example, it took us 2 months just to hang this flower lamp in the kids' room. It required finding the right size screw and using a drill. Not exactly challenging. But it's up, better late than never.

Without further ado, I'm going to cover our outside goals in this post.

Goal 1: cut down this tree:
It's pretty much totally dead and we're just biding our time until we manage to finagle a chainsaw from a friend. D is sick of cutting down trees with hand saws.

Relatedly, we want to get rid of this tree stump, or at least level it to the ground (you may have noticed these pictures were not taken on the same day):
 Ongoing goal: continue to combat ivy in all its forms:
Here's the view of our backyard again, so I can tell you about our unlikely reach goals for the year. D's next big "hire someone for a major home improvement" level project would be to convert this brick patio into a full on raised deck. I'm not convinced it's worth the effort, but I've been wrong before (it was also his idea to convert our 3-season breezeway into the sun room). We also really need to eventually try to create some kind of intentional garden along the back fence, instead of letting it go to seed every summer and fill with leaves in the fall that we're too lazy to drag to the curb.
Before I leave you, possibly for another month given my current blogging pace, I thought I'd share this lovely picture of the decorative grasses that really seem to have perked up since we planted them this summer.


Sunday, August 26, 2018

The Kitchen, Finally

Let's cut to the chase, since I made you wait a few weeks, before I show you some process pictures. The bottom line is that we LOVE LOVE LOVE our new kitchen. We did not, however, love the process. I was too frustrated to blog about the progress while it was going on, after the initial few days. Communication issues, scheduling delays, etc. But it's all done now and we couldn't be happier with the final outcome. So without further ado, kitchen money shots:


So to backtrack a bit from where we left off earlier this month, here are some installation pictures for the counters. They set the join between the two pieces just to the left of the sink, using giant clamps to hold it in place.

I wasn't thrilled with the join. I had suggested going to the right of the sink (which is usually under the drying rack or at least a little more hidden) or at the sink itself, but our installer preferred to do it away from spots that are constantly wet and I think also wanted smaller pieces to work with, though he didn't admit it. The two sides weren't entirely smooth and I could feel a little edge, which was very annoying when wiping things like, say, messy peanut butter, from the counter. He argued that up to 1/16'' was acceptable but agreed to come back and try to smooth it, especially since he had to even something else out as well, and I was much happier with the result the second time.
For paint color, we ended up with Halcyon Green, which if you look at the paint chart from the previous post, is in the second column from the right, second one down. We are thrilled with it - bold but also muted, decidedly cool-toned, and somewhere in between blue and green.
Here it is, with our old light fixture and old (now dreadful) olive-colored blinds. If you scroll back up, you'll note that D mostly won the light fixture contest from our mood board and we went with the Pottery Barn McCarthy 3-Light Pendant. Though I don't dislike it, the finger prints may quite possibly drive me crazy. Though I think back to the original light when we first moved in (the first one we replaced, our first foray into do-it-yourself), and I think of how far we've come.
When the kitchen job was finally done, we did the finishing touches, like swapping out the annoying corded olive roman shades with some beautiful cordless gray ones from Home Depot. I don't remember having such pretty options years ago when we settled for the last ones. Obviously cordless and affordable shades have made huge strides in 9 years. Who knew?
I may delve into some of the smaller details of our kitchen in future updates (the under-cabinet lighting deserves its own post, it is so awesome) but I'll leave it there for now. One more upgrade off the to-do list.

Tuesday, July 17, 2018

My Kitchen Mood Board

Let's just pretend we don't still have an asbestos problem in our basement and move on to more fun topics - KITCHEN! This is a close to a mood board as I'm getting, since I don't really do those. So here's how it is shaping up.

Despite the strong outpouring of support for our previous choice of Peppercorn White, I couldn't leave well enough alone and commit. So we went to a countertop supply center to have a look around. There was no shortage of stuff to look at:

We even got to dress up in hot pink hard hats, because this was a factory where they were actually lifting, moving, and cutting stone. OK, so they also had yellow hats, but where's the fun in that?
When I saw it, I knew it was love:
76, Rolling Fog. Definitely more my style. Here's a big view of Peppercorn White, for comparison, number 15:
As I feared, the larger sample looked so much busier than I wanted. I feel like this was the same sensation I experienced after sampling a bunch of greens in the nursery only to paint it a color that turned out to be incredibly LOUD! We took home some more samples (I briefly considered taking home enough samples to make a coaster set, only to realize the edges were probably too sharp to be considered child-safe). Rolling Fog is all the way on the right and Peppercorn White is the top left. The middle row is Mara Blanca, also a choice that we liked, but a tad too boring.
And so, with that, we committed whole-heartedly. And now, onto other choices we've made for the kitchen. We solved the issue on making our backsplash interesting without being *too* interesting by choosing a subway tile style with some subtle texture, Highland Park by MSI (the same people who make our quartz counter) in whisper white. And again, for something a little interesting, we've asked our tile installer to put them together like this - hopefully it works out well:
We're still undecided on our dining room accent light, mostly because D and I seem to have conflicting opinions. He like the kind of hanging pendants with an old-fashioned-looking lightbulb with exposed filament (they're all LEDs by now, so it's totally fake). I like elegant chandeliers, which, admittedly, might look out of place with our decor. I'm willing to compromise with pendants that use textured glass (I suggested mercury glass, but D wasn't a fan). So here are the current contenders, in order from his preference to mine (literally - our choices run exactly opposite each other):
West Elm Sculptural Glass

Pottery Barn McCarthy

Pottery Barn Paxton

Pottery Barn Arden Crystal Chandelier
For knobs and pulls, we're using some pretty standard looking brushed nickel ones from Home Depot. We still have to commit to a paint color but we're going to go with some very similar to what we have now, so if we don't get out to pick up some paint swatches, we'll just have the painter color-match it.

And with that, we're off! First payment paid and first day of work scheduled for Friday!