Please share your opinions and expertise since we need all the help we can get!
Showing posts with label sink. Show all posts

Monday, October 27, 2014

Drips begone

Our sink has gotten to be an increasingly wet place. The guy who replaced our disposal noticed that our faucet was a bit leaky. Apparently water was dripping down our hose, from where the nozzle attached to the hose. This probably has been happening for sometime. The bottom of our sink cabinet is very bumpy.
I tried replacing the washer that connects the hose to the nozzle, but the drip still was going. Home Depot did not have a suitable replacement hose and I did not want to order one online only to discover that actually something else was the problem. So I bought a new faucet, the Kohler Barossa. It is a Home Depot exclusive, which makes me a bit nervous, but again, I needed a faucet NOW.
First, I cleared everything from under the sink (again...).
Second, I took a picture of our old faucet before I ripped it out.
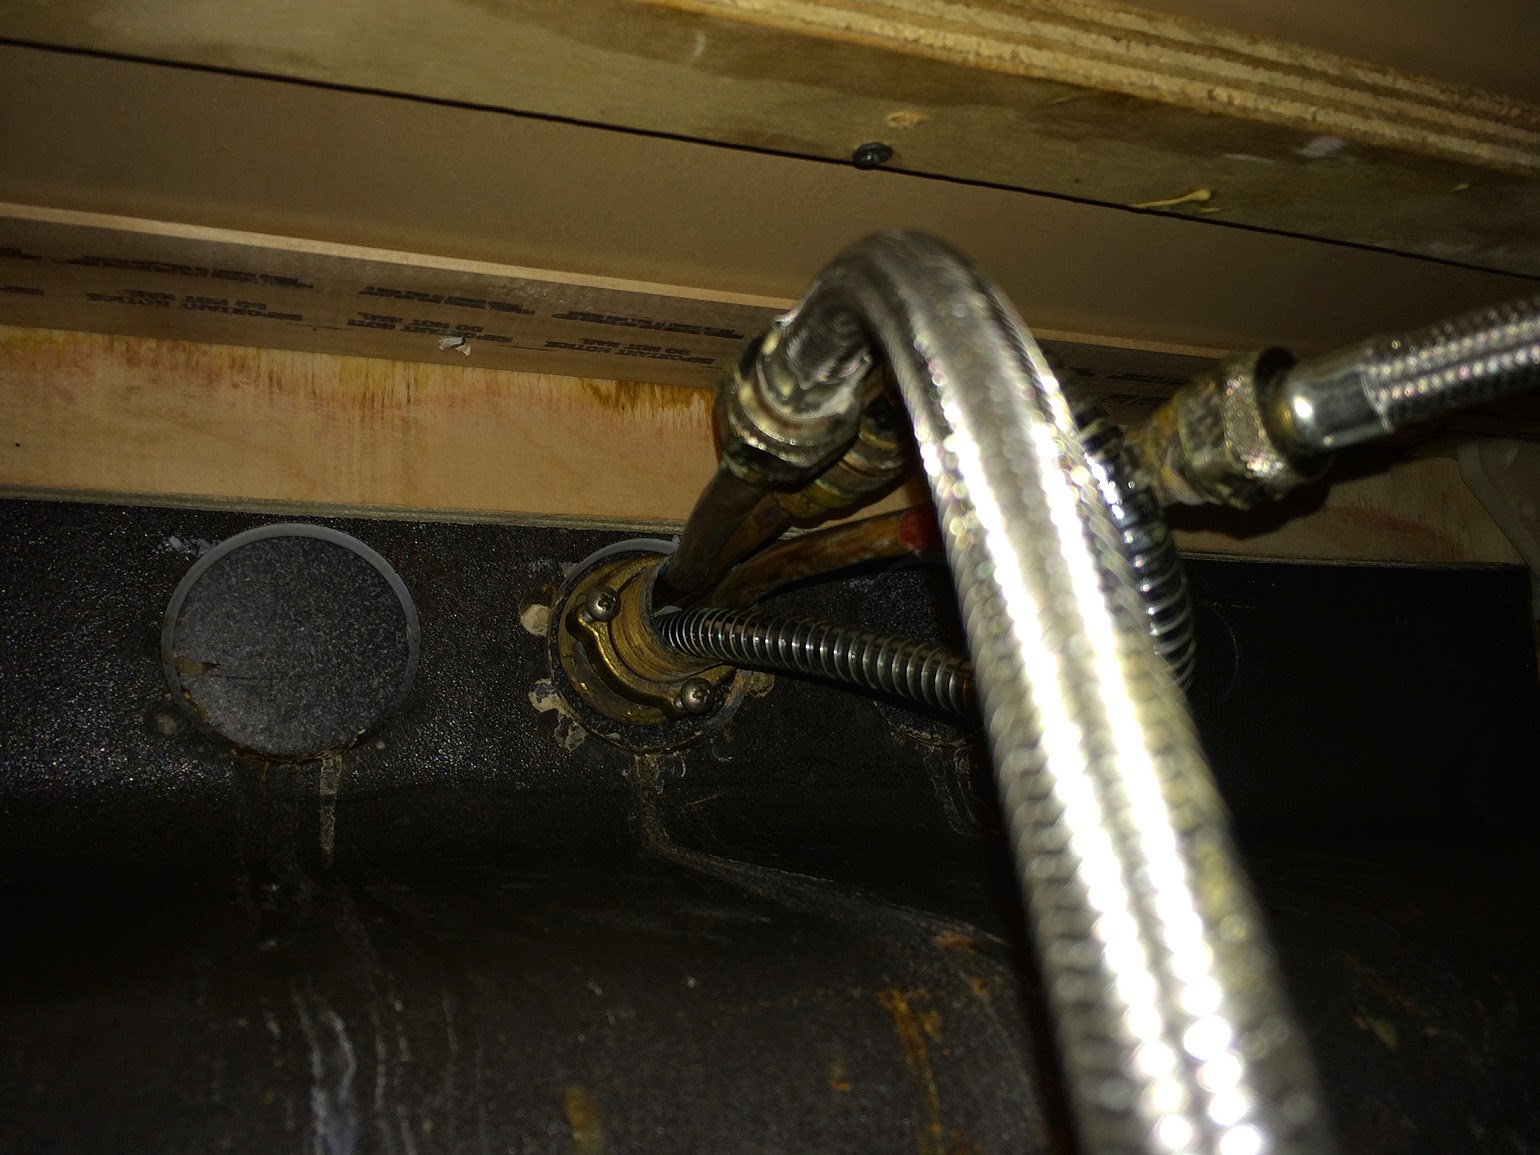
Then, the old one could come out. First, I had to disconnect the hoses and unspin the brass ring that holds the faucet in place (pictured below, with the two screws at 5:30 and 9 pm). Which wasn't too hard, but it was a VERY tight squeeze to get the ring past all of the hoses. I got so desperate I pulled out the dremel to cut it off, but it was too tight to fit the cut off disc behind the sink, so I resorted to lots of swearing to get it apart.
Yay!
With this off, it was fairly quick to attach the new faucet. Just drop it through the hole, attach the hoses, and snap some stuff together. 
Of course, a few days later, I discovered a new drip, where the dishwasher water supply hose attaches to the hot water faucet. Tightening the connection did not help. I imagine the best fix would be to replace the hose, but that would require getting access to the back of the dishwasher. Which is bolted into the surrounding cabinets. So I just slapped on some waterproof sealing tape and well, a week later it is still dry in there, so I am declaring "Mission Accomplished". 

Saturday, October 11, 2014

The other plumbing project

I've been complaining about the faucet in our main bathroom sink for a while now (one of those links goes back to 2012...). The handles pointed in the wrong direction, the stopper didn't hold water in the sink, and then a few months ago, the faucet started dripping and our elegant solution was to put a plastic tub in the sink to collect the water for plants.  I was really ready to say goodbye to the fixture.

We'd heard it was easier to replace the faucet structure within the same brand. For a while, we couldn't even figure out what it was, until my mom was visiting and managed to see a tiny "GROHE" on the very back next to the plunger. Bad branding, if we can't figure out what it is when we were trying to!

So after trying to decide between Kohler and Moen, we decided to go with Grohe. Grohe Parkfield, to be specific - it was relatively cheap and relatively stylish. We stuck with chrome to go with the other finishes in the bathroom.

And it remained in this state for a few weeks as we tried to build up enough courage and find the time to take apart the pedestal sink. Until...
Until our garbage disposal broke. It pushed us over the edge to deciding to hire a handyman. And in retrospect, I think it was a sign. We definitely made the right decision by getting someone else to take care of this.

The garbage disposal repair took about 75 minutes. This one, however, took a professional about 3 hours to complete, including multiple trips out for a special tool to remove the bolts. Plus we bought a faucet kit that came in lots of tiny little parts instead of others that come partially preassembled. He actually had to charge us a little extra because of all the time it took to put together.


Yeah, I don't really think we would have had the time and know-how to have done this ourselves...

Apparently the sink wasn't bolted in to tension before and must have just hand-tightened it. The sink always felt a little wobbly. Now though, it's definitely attached.

Look how pretty! The handles point in the right direction! The stopper holds in the water! There's no drip! And the flow is so much better!

It is fabulous. I'm sad we didn't do it sooner. And I think it was worth every penny to have someone else do it for us.

Our new handyman spent almost a whole day here with these two projects. And it was a busy day. We didn't take pictures but we also had a furnace guy here to clean out the furnace. It had been over two years since we had it cleaned out last and wanted to make sure it was in good condition for this winter. The good news is that apparently it was still pretty clean and we could have gone one extra year before getting it cleaned out. Though there was a lot of cat hair inside that we should vacuum out. Good to know!

Monday, October 6, 2014

A Disposal that Purrs

While we were debating about whether or not to hire a professional to install our new bathroom sink fixture, this guy decided he'd had enough and stopped working:
D did all the standard troubleshooting - reset it, manually pushed the blades with a stick to make sure nothing was stuck, etc. It growled to life occasionally but really was at the end. We quickly looked at how to install a new one and decided it would be difficult to get the dishwasher hookup, the plumbing, and the wiring (while keeping a baby busy) and decided we should hire a handyman.

First though, we had to pick out the new disposal. We decided to stay with insinkerator because we thought sticking with the same brand might make the install easier. Plus that immediately narrowed down our choices to make the final pick easier. It looked like we had two choices - badger, which seems to be used a lot in rental properties and was noisy, and evolution, which was what homeowners seemed to choose, and was quieter. Then it was just a matter of looking up our old unit to get the dimensions to figure out that the compact was a closer match. And thanks to the magic of Amazon prime, two days later we were in business:
We got a local handyman for early the next week and managed with a food trap and with manually pushing the blades to get the water to drain. Occasionally, as mentioned above, we got it to run, leading me to wonder if we were giving up prematurely.
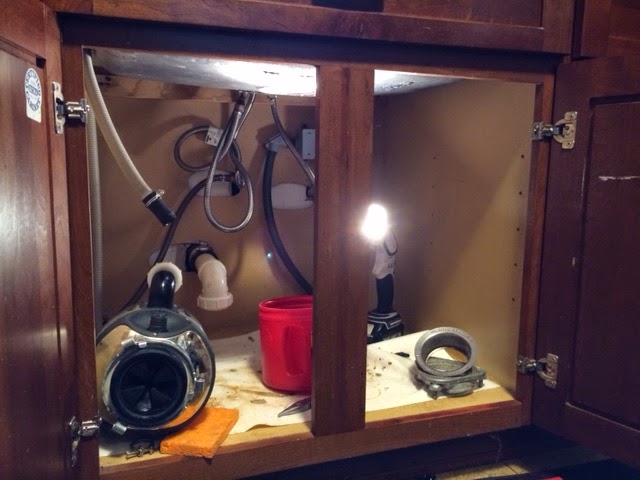
But the big day rolled around and D cleared out the cabinet:
Ick....You'd think this might be a good opportunity to replace that mat, but no, we didn't think about that. In fact, it's only just occurring to me now, several days later as I look at the photo.
Here's the new disposal, mid-hook-up (I'm sure there's a great inappropriate comment to insert here, but I'll leave that to your imagination):
 And from the top, complete with dirty dish just to, you know, keep it real:
I wasn't actually home for this install but D said it took about an hour an a half. And given that this guy knew what he was doing, I think it was a good thing we hired someone. He wasn't cheap, but I'm not sure when we would have found time to spend a few hours on this project.

It's so quiet I needed to add a video. I turn it on after about 2 seconds. Do you hear that? Yeah, me neither...


And a random public service announcement. The booklet on our disposal specifically instructs us to only use it only with COLD water. No idea why, but there you go.

While doing this repair, we discovered that the faucet fixture might be leaky (or, more accurately - there is a slow leak and it *may* be due to the faucet). The handyman thinks we can just replace one of the rubber washers, so fingers crossed!

Sunday, January 8, 2012

Days 11 and 12: Major progress

I'm just going to skip yesterday's "in progress" photos since basically all add up to what took place today. Yesterday, Roberto fixed the bullnose tile alignment like we asked and then pretty much spent the day grouting. I took pictures but today's complete overshadow them.

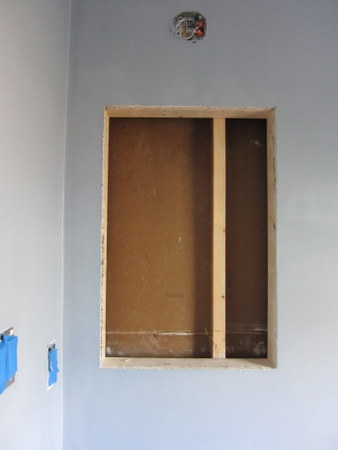
Today when Roberto took a break for lunch (that guy works really hard, putting in a long 9 to 5:30 with a short break for lunch on a Sunday!), we snuck up to find that our walls were painted and there was a hole for the medicine cabinet. We had been wondering about when that hole was going to appear--I am at a complete loss as to the correct order of operations here, so I would have expected the cut sooner and was getting nervous that it had been forgotten. But I should not have worried--when he opened the wall up, I saw that the framing was already there and that the stud had been shaved back to make room (move visible in the second photo):

And now, some eye candy as the room actually begins to look like a bathroom again:


The toilet isn't actually hooked up yet, and there's no sink or any shower fixtures, but it is definitely beginning to look like something! D regrets his paint choice just a little. When we put the sample up on the wall, we were working with very poor lighting conditions. Now he sees (what I was telling him all along) that the blue he preferred was a little purple and not quite as gray as we wanted. For those keeping track, it's Behr Flat Enamel in Russian Blue. But we definitely don't hate it enough to try painting over it any time soon. I have dreams of being able to master the "linen" or "raw silk" effect from the Martha Stewart Decorative Painting Tool Kit to add a glaze top coat. (It would help if I actually started practicing. Hard to master something when you've never tried.) If I do, I'll use a slightly grayer tone.

Regardless, we're really getting there. We have a fancy shmancy timer for the fan (rightmost switch), a gorgeous heavy-duty medicine cabinet, and finally some lighting. There was a small problem with the sconce lighting for on top of the cabinet. Namely, that it never actually arrived. We have the invoice. And we have a box that has a shower head in it and a label on it that says 100W Sconce. So the company our contractor buys from made an oopsie. Fortunately, this is their problem, and it will be fixed tomorrow.

Also tomorrow, this pretty baby should finally get a permanent home. Ain't she something?!
A brief cat update--I think both of them are relieved that the noisy tile cutting is over. This is how our more nervous cat has been spending his days: camouflaged to look like laundry (we actually deliberately left him a small pile of things that we don't mind getting wrinkly and hairy because we know how much he likes to hide on/in it).